Unleash Your Creativity with Stampin’ Up Blends and Color Pencils
Unleash your creativity with Stampin’ Up! blends and color pencils. You can use stampin’ blends and water color pencils to create images that are beautiful & vibrant.
Moody Magnolia Card Recipe
SUPPLIES
- Stamps: Moody Magnolia, Thoughtful Expressions
- Inks: Memento Tuxedo Black, Pool Party, Pretty in Pink.
- Paper:(with measurements)
- Basic White: 8-1/2″ x 5-1/2″ scored at 4-1/4″ . 3-3/4″ x 5″, scrap for sentiment, 4 x 4-1/4″, 3-1/2″x 4-3/4″.
Pretty In Pink 5-1/4″x 4″,
Shy Shamrock: 4-1/2″ x 2″
Accessories:
Petal Pink & White 1/4″ Diagonal Trim Combo Pack (5-1/2″ and 4″ pieces), Stampin’ Blends: Petunia Pop Duo, Shy Shamrock Duo, Color Lifter
Tools: Distressed Tile Emboss Folder, Moody Magnolia Dies, Flowers of Beauty Dies, Thoughtful Expressions Dies, Stylish Shapes Dies.Basic Supplies : Paper Trimmer, Bone folder, Paper Snips, Take Your Tool Pick, Stampin’ SEAL+, Multipurpose Liquid Glue, Stampin’ Dimensionals, Mini Glue Dots, Tear & Tape Adhesive.
INSTRUCTIONS
- Cut cardbase from Basic White, score and burnish with Bone Folder.
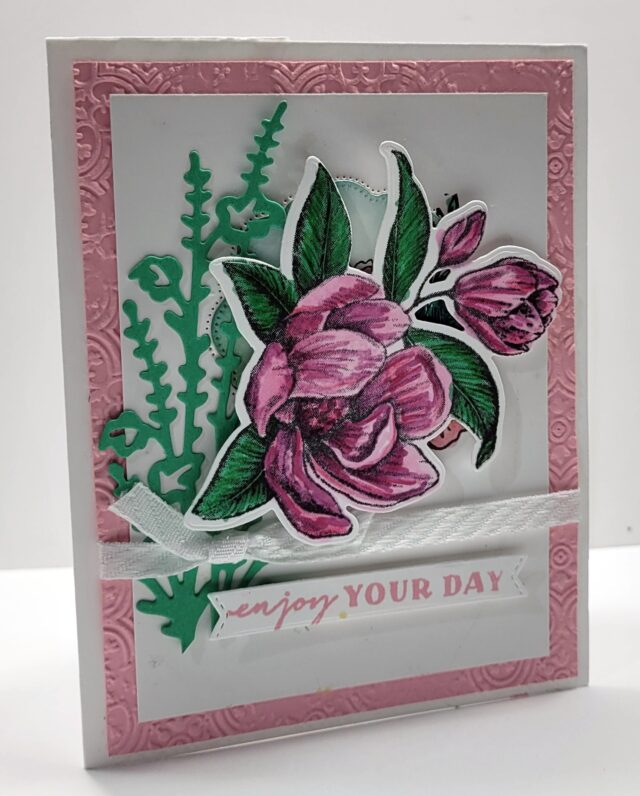
- Emboss Pretty in Pink panel with the Distressed Tile Emboss Folder and Stampin’ Cut & Emboss machine,
- Cut the leaves from Shy Shamrock with the die from the Flowers of Beauty Dies.
- Cut a piece of Basic White with the middle circular die with the Thoughtful Expressions Dies. Use a Blending Brush and Pool Party ink to lightly colour the die cut. Add more ink to the edges of the die cut if you would like them to stand out.
- Stamp the large Magnolia flower on the Basic White panel with Memento Tuxedo Black ink.
Watch the video to see how to colour using the Stampin’ Blends and Watercolour Pencils
- Adhere the decorative die cut to the top center of the Basic White panel. Cut the leaves from Shy Shamrock and adhere to the left hand side so that it overlay the decorative die cut.
- Die cut the Moody Magnolia flower in the center of the panel and attach with Stampin’ Dimensionals and attach to the the embossed panel.
- Wrap the ends of the 5-1/2″ piece of ribbon along the bottom of the and attach on the back with Tear & Tape adhesive.. Use the other piece to tie around the flat ribbon in a knot.. Trim the ends of the ribbon.
- Stamp the sentiment on a scrap of Basic White with Pretty in Pink ink. Die cut with the long banner die from the the Stylish Shapes Dies. Attach with Dimensionals below the ribbon.
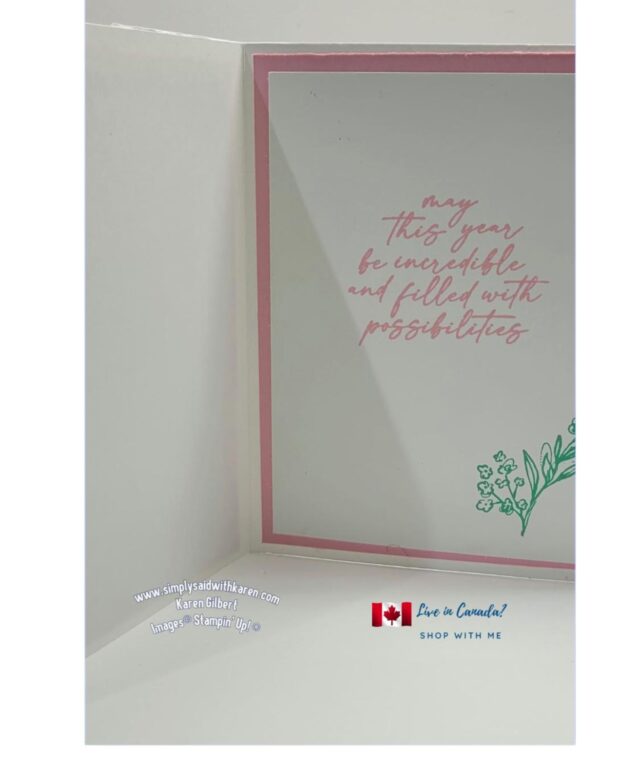
- Stamp on the inside of card, decorate your envelope.

If you want to recreate this card and need supplies, please click on any of the images below and you will taken to my ONLINE STORE
You can also contact me at karen@simplysaidwithkaren.com
So unleash your creativity and learn new techniques.


