Softly Sophisticated Bundle for the Inspirations in Ink
It’s Softly Sophisticated bundle for the Inspirations in Ink Blog Hop!
Several Stampin’ Up! demonstrators are members of the Inspiration in Ink group. We are from Canada, United States and Australia. We like to share our love of Stampin’ Up! and we encourage you to hop along with us. The theme this month is the Sale-a- Bration Brochure.
The new Jan to April 2023 Mini Catalogue goes live on January 4th.
Level 1: Order $60 of products and receive items free from the Sale-a-Bration Brochure.
Level 2: Order $120 of products and receive items free from the Sale-a-Bration Brochure.
The Softly Sophisticated bundle is free with a $60 order because it’s SALE-A-BRATION time. – It’s the most popular time of the Stampin’ Up! year.
You will find each participant in the Blog Hop below. Easy peasy.
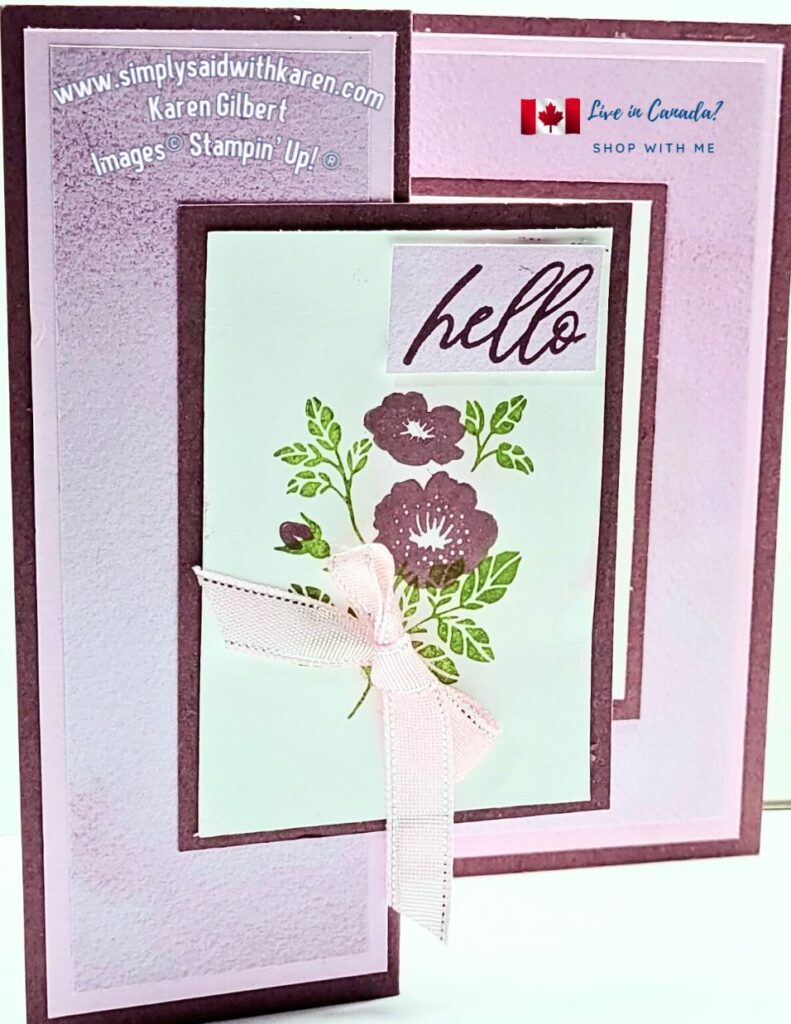
It’s a pretty little stamp set with a Emboss Folder included. Although for this card, I did not use the Emboss Folder. This card is a z-fold fun fold, and is real easy to create.
So let’s get started!
Softly Sophisticated Z-fold Recipe
Supplies
Stamps: Softly Sophisticated, Layering Leaves.
Ink: Moody Mauve, Granny Apple Green
Paper: With measurements
Moody Mauve:8-1/2″ x 5-1/2″ (card base), 3-1/2′ X 2-1/2″ (cut 2, )
Bubble Bath, 4″ x 5-1/4″ cut 2@ 2-7/8″ x 5″
Basic White: 2-1/4 x 3-1/4″ (cut 2)
Delightful Floral Designer Series : 3-3/4″ x 5″ for inside panel, cut 2 pieces – 1-3/4 x 1-7/8″ , plus scrap for Sentiment
Accessories: iridescent Pearls”1large & 4 small, 3″/ 8″ Sheer Ribbon Combo Pack ( Bubble Bath) -5″.
Basic Supplies: Paper Trimmer, Bone folder, Paper Snips, Take Your Tool Pick, Stampin’ SEAL+, Multipurpose Liquid Glue, Stampin’ Dimensionals, Mini Glue Dots.
Assembly Instructions:
- Score along the long edge of the Moody Mauve at 2-1/8″, 4-1/4″. Fold on the score lines and burnish with Bone Folder.
- Attach the Bubble Bath cs to the 2 smaller Moody Mauve panels & the large panel.
- Attach the Designer Series Paper to the Bubble Bath cardstock.
- On one white cs panel stamp the leaves with Granny Apple Green. Align the large flowers to the leaves and stamp with Mood Mauve ink. Hint; Line up the bud with the leaf on the left hand side. Adhere to Moody Mauve panel.
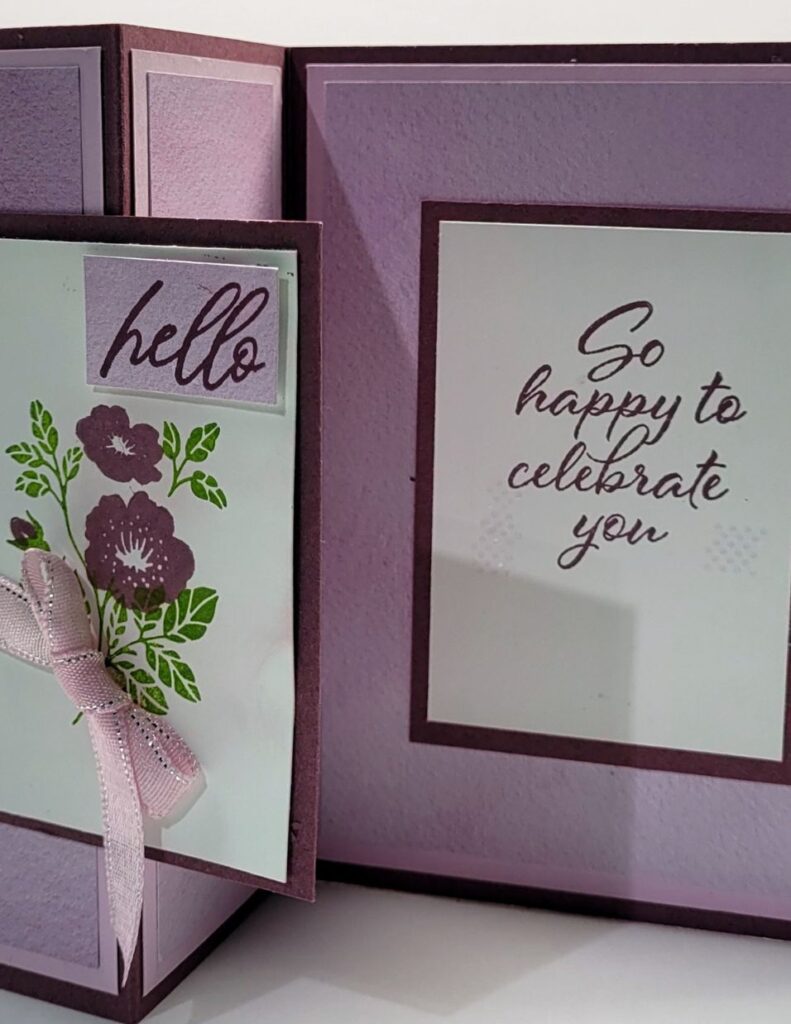
- Stamp the sentiment on the second panel of Basic White and adhere to the second Moody Mauve cs.
- Attach the flower image to the front of card panel. Only put the adhesive on the left hand side of the panel and adhere to the front panel.
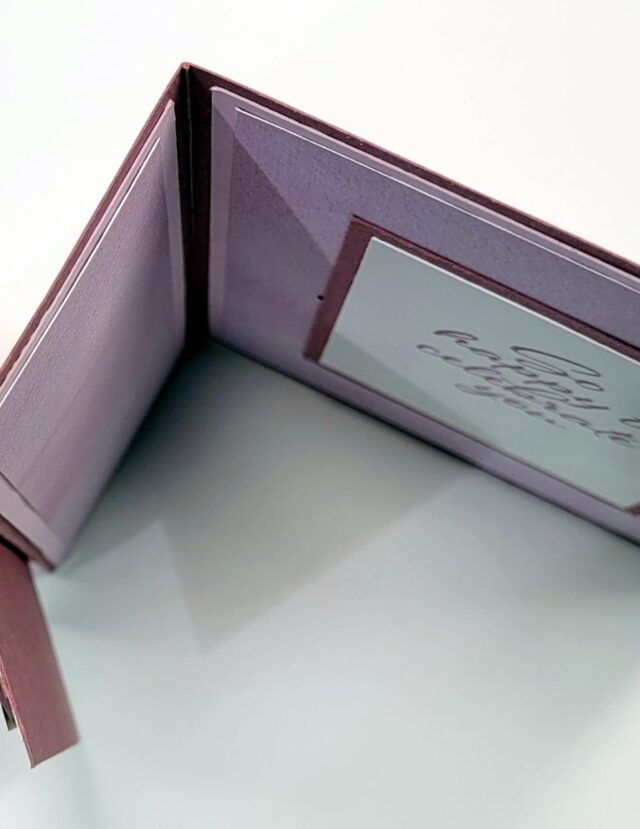
- To attach the second panel, close the front panel and place the second panel under the 1st panel so that the 2nd panel does not show past the 1st panel.
- Unfold the front panel, place adhesive on the back of the 2nd panel. Carefully, place the sentiment panel underneath the 1st panel and press to adhere.
- Stamp another sentiment on a scrap of DSP and trim to 1-1/4″ x 3/4″. Attach to top right hand side of the focus panel.
- Decorate the envelope if you wish.
Blog Hop Info
I hope you will join us for the Inspirations in Ink Blog Hop.
Vicky Wright – Australia
Christy Gridley – USA
Julie – Golding-Page – Canada
Karen Beck Gilbert – Canada You are HERE
Rebecca Nutley – Australia
Robbie Rubala – USA
Just a reminder that the Last Chance Products will available until Jan 3, 2024. So, if you are still sitting on the fence about some products, I suggest that you get motivated to order.
Here is the link to SHOP with Me.
If you have questions about this Blog Post, please contact me at karen@simplysaidwithkaren.com


Such a soft & pretty card Karen. Love this fold.
Thank you Julie
Great fun fold and love the purple!
Thank you Rebecca
Cool fun fold! And I like your use of Moody Mauve.