Slider Snowman Card Made Using Punch Art
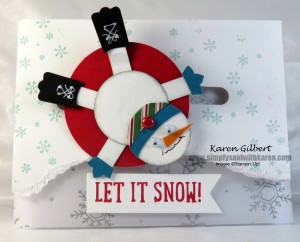
The Slider Snowman
Have you ever created a slider card? These are so much fun and you can use the technique to create cute cards for all occasions.
I wanted to create a slider card but didn’t know where to begin. So, like a lot of crafters, I turned to the internet to see what I could find. Thanks to France Martin, I was able to recreate the “Slider Snowman”. Perfect for a Winter Card.
There are a few key components to creating a slider card:
- A punch to create the slide area.
- A penny.
- Foam squares to lift up the cardstock so that the slide will work properly.
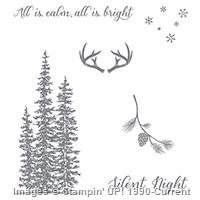
Stamps: Snow Place, Wonderland,
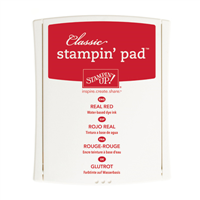
Ink/Markers: Real Red, Basic Black Marker, Sahara Sand, VersaMark
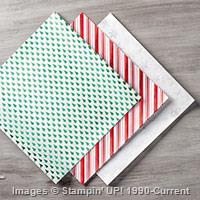
Paper: Whisper White, Real Red, Island Indigo, Basic Black, Pumpkin Pie, Holiday Fancy Foil DSP
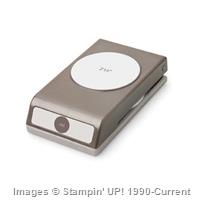
Accessories: 2-1/2” Circle Punch, 1-3/4” Circle Punch, 1-1/4” Circle Punch, Word Window Punch, Modern Label Punch, Boho Blossom Punch, Large Oval Punch, White Gel Pen, Googly Eyes, Pool Party Embossing Powder, Home For Christmas Enamel Dots, Dazzling Diamonds..
Other: Pennies, Foam Tape Adhesive.
Punch Pieces Need to Create The Snowman:
For Saucer: Punch 1 2-1/2″ circle from Real Red.
For Body: Head – 1 1-1/4″ circle from Whisper White, Body – 1 3/4″ circle from Whisper White, sponge with Sahara Sand ink.
Arms and Legs – 4 pieces from Whisper White using Word Window Punch, Trim pieces to 3/4″ lengths, sponge with Sahara Sand ink.
Boots: 1 Pieces from Basic Black using Modern Label Punch. Trim each end to 7/8″ and using Snips, trim a curve in the top.
Gloves – 1 piece from Island Indigo using Boho Blossom Punch and cut in half.
Hat: Punch 1 piece of Island Indigo card stock using 1-1/4″ Circle punch, trim and attach to head. Punch 1 piece of patterned paper piece using 1-1/4″ Circle Punch, trim to form top of hat and attach to Island Indigo.
Cut a piece of Pumpkin Pie in a triangle shape to form nose.
Assemble Snowman and attach to Saucer following picture.
Prepare card base and layer a piece of Holiday Fancy Foil DSP (Snowflakes) over card base.
Using a 4-1/4″ X 5-1/2″ of Whisper White card stock, stamp and emboss snowflakes, rip bottom of card stock, apply adhesive to ripped edge and sprinkle with Dazzling Diamonds.
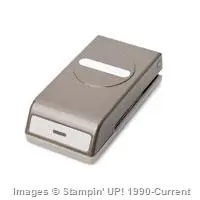
Using Word Window Punch, punch a slot in the center of embossed piece. You may have to join 2 punches together to get a long enough slider.
Place a penny behind slot, place stack 2 dimensionals on top of penny, place a second penny on top and outside the slot. Attach snowman to top penny using a dimensional.
Attach all to card base. To ensure that the snowman will slide and turn, use a 2 layers of foam tape so that the top piece is high enough from the base.
Stamp sentiment and attach to front of card.
Now, it’s your turn to create a Slider Snowman. Have fun and let me know how it turns out.
Built for Free Using: My Stampin Blog

