Say Thank You with the Cheerful Daisies Bundle
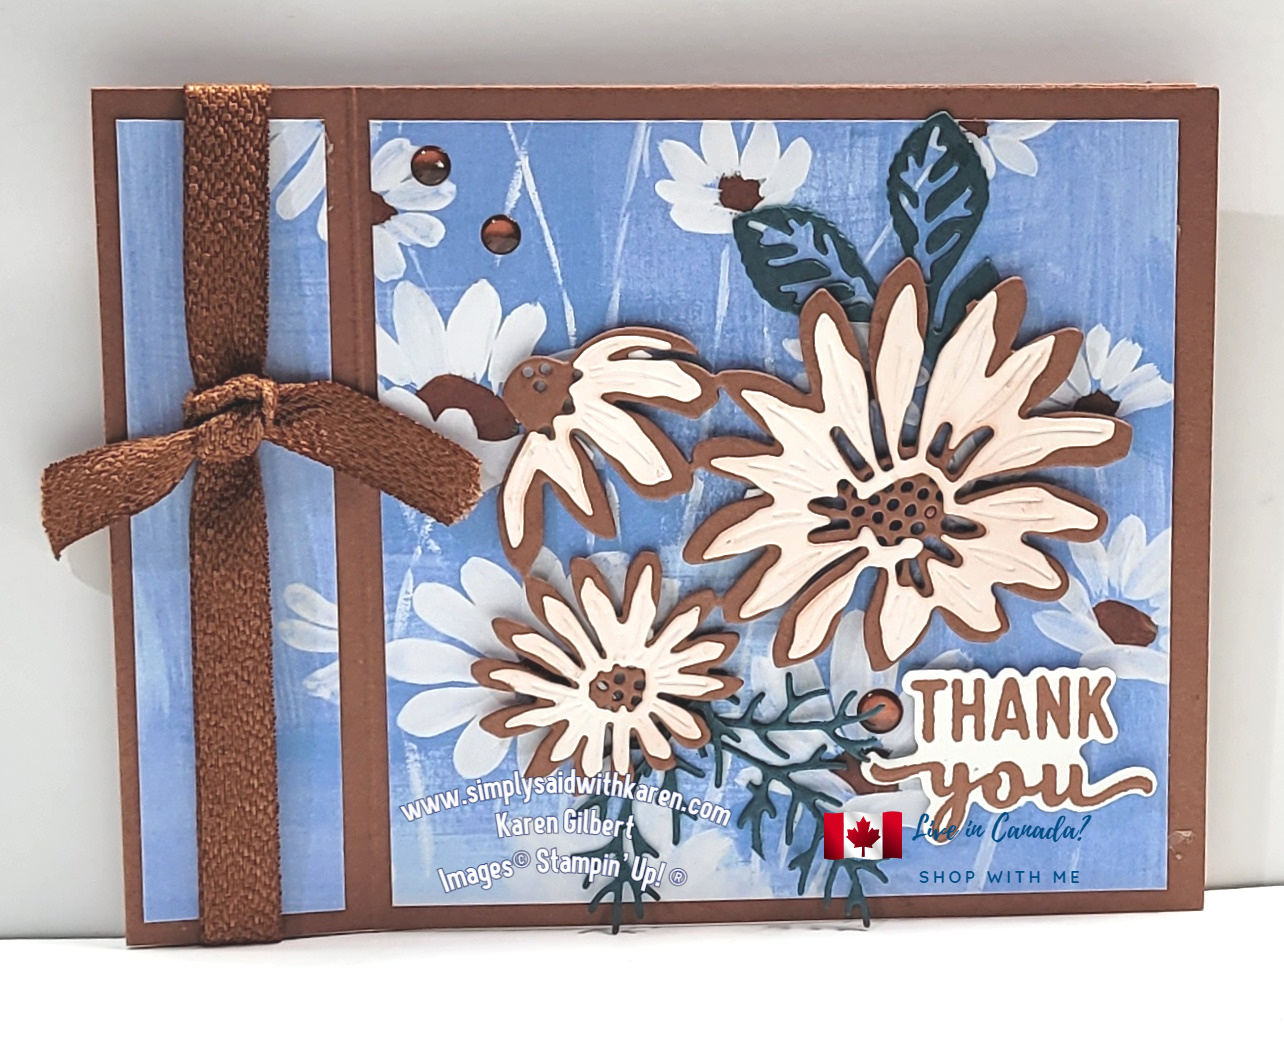
Say “Thank You” with the Cheerful Daisies will bring a smile to those who see the card.
I entered this card into Kylie’s International Blog Hop. It’s a way to say “thank you” to my readers, customers and Facebook fans. It’s so important to say the 2 simple words, but sometimes, people forget about them.
This card is a Book Fold fancy fold card.
Vote for Me Link
Say Thank You Card Recipe
Stamp Sets: Cheerful Daisies, Cheerful Sentiments.
Ink: Copper Clay.
Paper: (with Measurements)
Copper Clay 4-1/4″ x 11″ Score at 5-1/2″ and 6-3/4″ along the long edge. Fold and burnish with Bone Folder, and 3-3/4″ x 3-3/4″
Fresh as a Daisy Designer Series Paper: 4″ x 4″. 1″ x4″, 1/2″ x 4″.
Basic White: 3-3/4″ x 3-3/4″. 4″ x 4″ and scrap for sentiment.
Pretty Peacock: scraps for leaves and twigs.
Accessories:
3/8″ Textured Ribbon ( Copper Clay) 4-3/4″ and 3″, 2023-2025 In Colour Dots.
Tools:
Stampin’ Cut & Emboss Machine
Cheerful Daisy Dies
Blending Brushes
Basic Supplies:
Bone Folder
Stampin’ Seal+
Tear & Tape Adhesive
Stampin’ Dimensionals
Mini Glue Dots
Clear Blocks -A B, D
Simply Shammy or Stampin’ Scrub
Stampin’ Mist Stamp Cleaner (153648)
Grid Paper or Small Grid Paper
Paper Snips
Paper Trimmer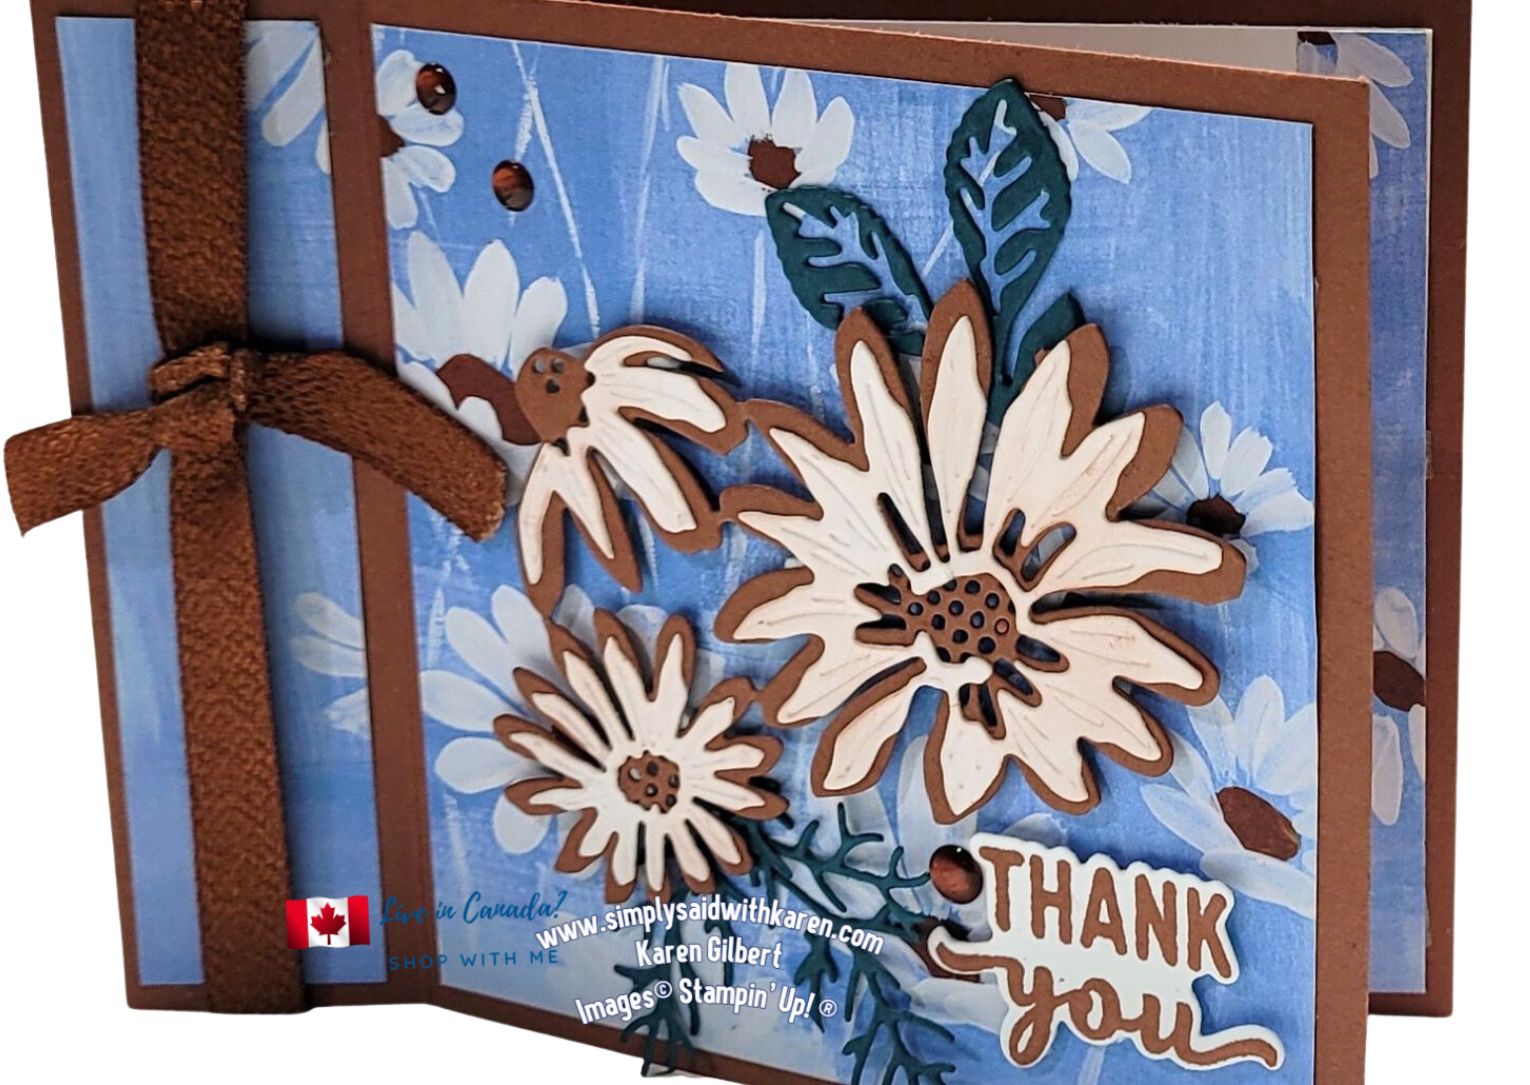
Instructions
- Fold the card base along score lines.
- Attach the DSP to front panel and along the left side.
- Adhere the ribbon on top of the DSP on left side.
- With Seal + attach the the left side to the inside card base.
- Die cut the large attached die (3 daisies) from Copper Clay cardstock. Trim the leaves off. Die cut leaves and twigs from Pretty Peacock cs.
- Use the single daisies and die cut from Basic White cardstock. Color the daisies with a Blending Brush & Copper Clay ink. Use a very light touch. Glue these to the Copper Clay daisies. Use Stampin’ Dimensionals to attach to card front.
- Tuck the leaves & twigs behind the daisies. Place the 2023-2025 In Colour Dots in various places.
- Stamp a sentiment with Copper Clay ink on scrap of Basic White and place on card front.
- Tie the short ribbon on the left had shide using a square knot.
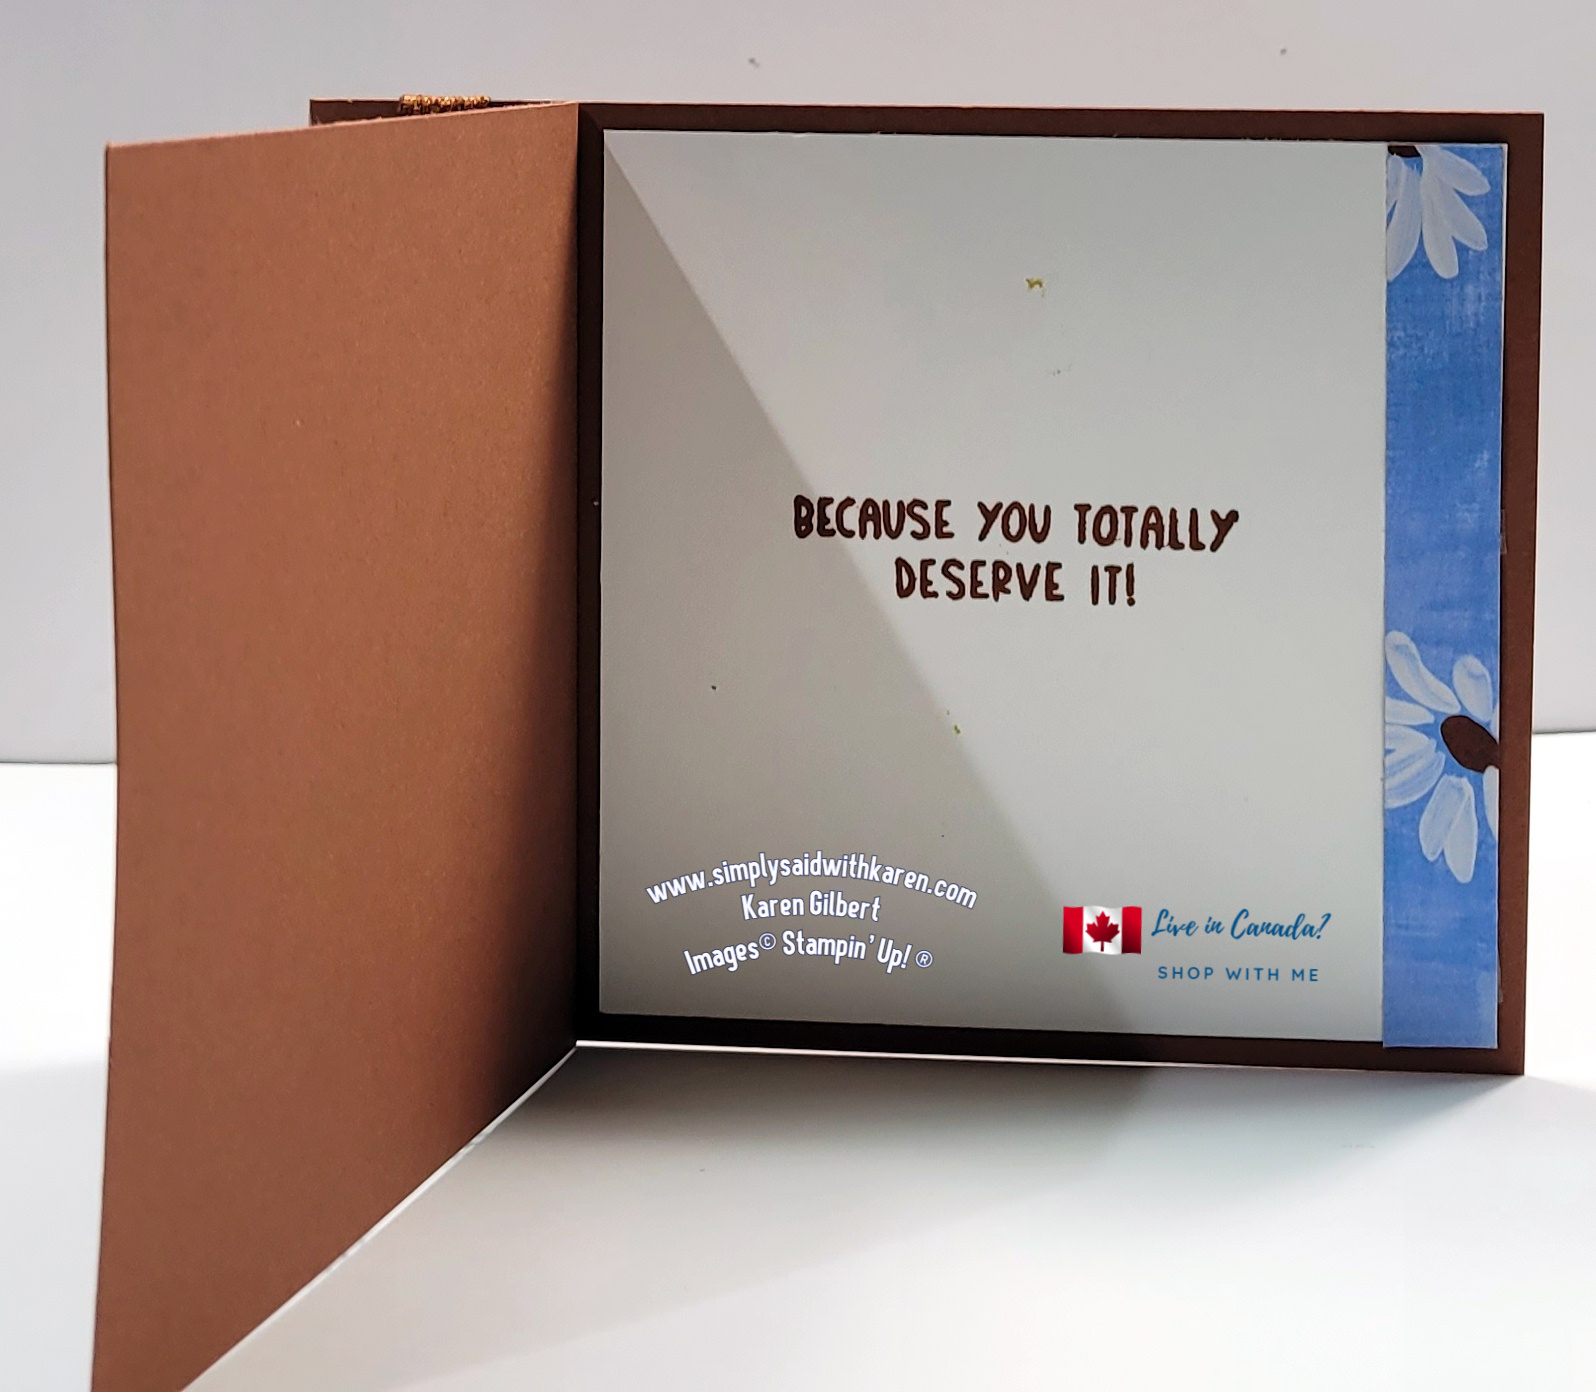
Inside
- Attach the strip of DSP to the left hand side of Basic White Panel.
- Stamp a sentiment on the Basic White.
- Adhere to inside with Seal+
Sit back and hop around to the rest of the Blogs to see what others are doing to “Say Thank You”.
Please vote for my card so that I can participate in the the International Blog Hop along with other International Demonstrators.
Thank you so much for Voting.
Are you looking for supplies to create this card? You can shop by clicking on any image below.





What a great design and card.. Thanks Karen for being part of my International Blog Highlights this month and all the best with voting!
Thanks Kylie
Beautiful Card.
Thank you Katja
Beautiful card Karen; love it!
Thank you Maheswari
Nice contrast with the Copper and Blue colors. Fun.
Thank you Kelly
Lovely Card, very pretty paper and layout 🙂
Thank you Rebecca
Lovely card design with this pretty paper. Love this color combination.
A lovely card, Karen!
Thank you Kim