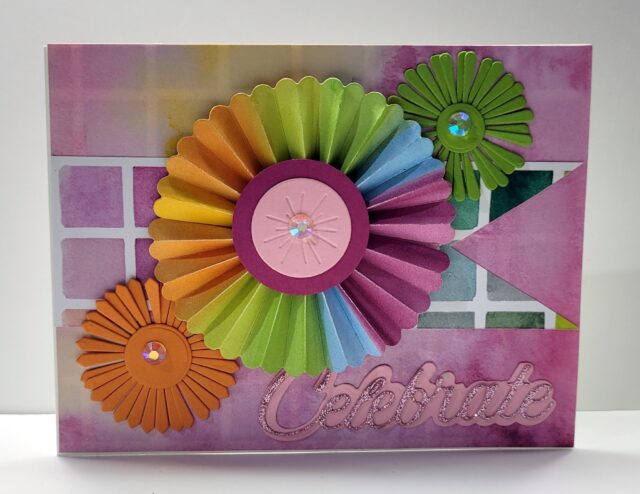
Round You Go card for Inspiration in Ink Blog Hop
Create The Round you Go card with the the bundle by Stampin’ Up! Remember the lollies we used to make? Well now, Stampin “Up! has eliminated the need to score fold lines, allow us to cut the papers with die cuts and no mess, no fuss. All you need to do is the accordion fold and attach the ends.
 We are a group of Demonstrators who are passionate about paper crating. You will find the list of demonstrators at the end of the post. To see the posts, click on the links and please leave a comment .
This month we took our inspiration from a Sketch from the 2024 September to January Mini Catalogue. Sketches are a great jumping off point for creations.
 Round You Go Card Recipe
SUPPLIES
Stamps: Round You Go:
Paper:
Basic White 11″ x 4-1/4″, Granny Apple Green: (scraps for pinwheel); and Pumpkin Pie (scraps for pinwheel, Petunia Pop (scraps)
Designer Series Paper: Friends for Life 6″ x 6″ – (5-12″x4-1/4″) , 2 pieces of 5″ x 1-3/4″ , 5-1/4″ x 2-7/8″.
2024-2026 in Colour Glimmer Paper: Pretty in Pink – scrap for sentiment.3-1/2″ x 1-1/4″.
Accessories: Iridescent Rhinestones, Round you Go Dies, Want to Say Dies, 1-1/2″ Punch,
Tools: Stampin Cut & Emboss Machine. Round you Go Dies, Want to Say Dies, 1-1/2″ Punch
Basic Supplies: Paper Trimmer, Bone folder, Paper Snips, Take Your Tool Pick, Stampin’ SEAL+, Multipurpose Liquid Glue, Stampin’ Dimensionals, Mini Glue Dots, Tear & Tape Adhesive, Paper Snips Adhesive Sheets 3-1/2″ x 1-1/4″
INSTRUCTIONS
Create the large pinwheel
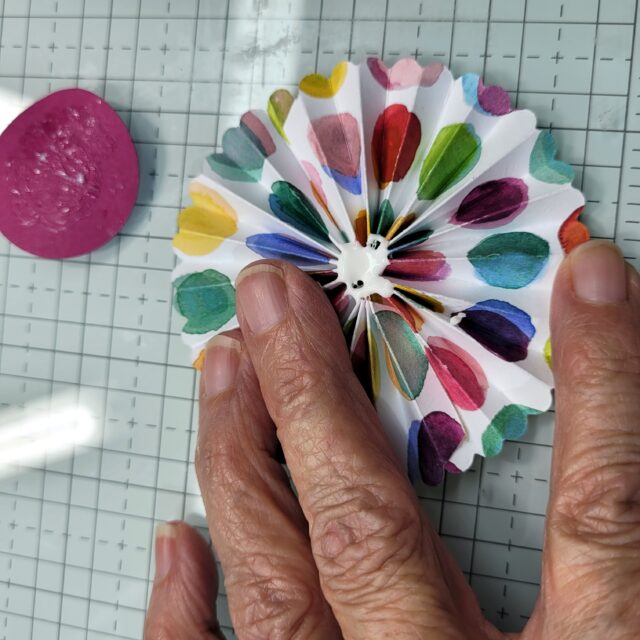
- Die cut 2 pinwheels from DSP. Accordian fold the score lines on both pieces. Join the shorter fold on the end to the longer fold on the other section. Use Tear & Tape Adhesive. Join the two end to make a circle. Punch 2 circles with the 1-1/2″ Punch from Petunia Pop cardstock.
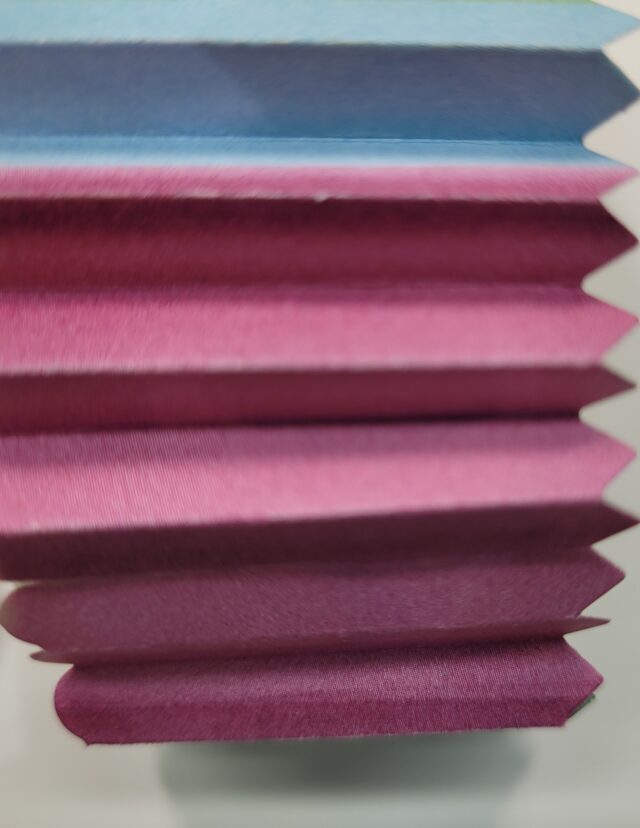
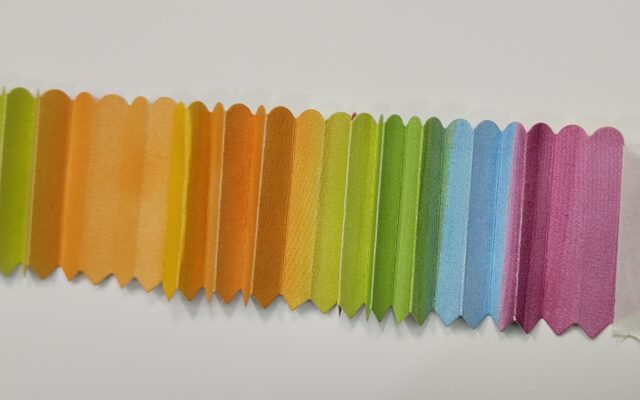 Manipulate into a flat circle and adhere 1 circle to the center with Multipurpose Liquid Glue.
 - Turn over and add Liquid glue over the center of pinwheel. Add the other circle to the center of the pinwheel.
- Die cut the circle with the embossing from Pretty in Pink and attach to Petunia Pop circle.
Assemble the card
- Score the Basic White cardstock at 5-1/2″ and burnish with Bone Folder.
- Attach the panel of DSP to the front of card. I used the reverse side of the paper with the multiple colours.
- On the side with the medium sized squares, use your Paper Snips and cut up the center of panel about 1-1/4″ and then from each of the corners up to the slit.
- Use the large pinwheel die and cut 2 from the Pumpkin Pie scrap and 1 large circle. Attach the 2 together and offset the petals. Attach the circle to the center of pinwheel..Use the smaller pinwheel die and cut 2 from Granny Apple Green scrap and 1 small circle . Attach the 2 together and offset the petals. Attach the circle to the center of pinwheel. See the photo for the placement of the pinwheels.
- Die cut the “Celebrate” background from Pretty in Pink. Attach the Adhesive Sheet to the Pretty in Pink Glimmer Paper and die cut the “Celebrate” word. Attach the word to the background and attach to the the bottom right of the card front.
- Attach a large Iridescent Rhinestone to the each of the circles.
Thank you for joining us on our Inspiration in Ink Blog Hop. We appreciate our readers.
If you need supplies to create this card, please Shop with Me


Teresea. Thank you for the comment
WOW! Love your card. Thank you for the inspiration!
Thanks Tina, I appreciate yourcomment
Love your card Karen!! So fun and colorful!!