Poinsettia Handmade Card For Christmas
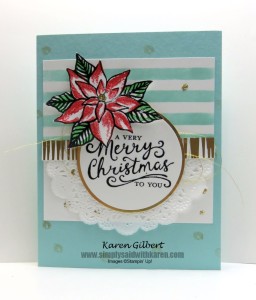
Poinsettia Handmade Card
A poinsettia handmade card just says Christmas. Yes, it’s a sneak peek from Stampin’ Up!’s 2015 Holiday Catalogue. Poinsettias come in many colours, however, I prefer the red ones. Every year I purchase a poinsettia plant before Christmas and I consider myself lucky if I can get it to last until New Years. I don’t have a green thumb.
This is a very pretty stamp set and it has many different options for you. First, you can purchase the Reason for the Season stamp set and the Festive Flower Builder Punch as a bundle. By purchasing as a bundle, you will save yourself 15% on each product. Such as deal!!
Using the punch and the several of the stamps, you can build your own poinsettia. You can also punch out a flower center in the colour of your choice.
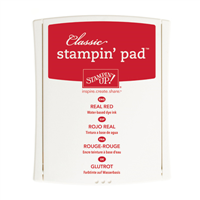
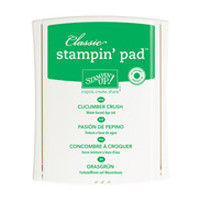
The other option is the 2-step stamping. Stamp the line image (flower and leaves) in Basic Black (the new archival Basic Black). Then stamp the petals in Real Red and the leaves in Cucumber Crush. Both the flower petals and the leaves stamps have a guide for easy line up. Voila, you have your flower to mount on your Poinsettia Handmade Card. Of course, to mount the flower on the card front, you will have to fussy cut it.
 Recipe For Poinsettia Handmade Card
Stamps: Reason for the Season.
Ink/Markers: Basic Black, Real Red Cucumber Crush, Pool Party, VersaMark.
Paper: Whisper White, Pool Party Wonderland Specialty DSP, Gold Foil.
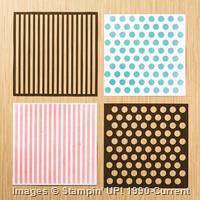
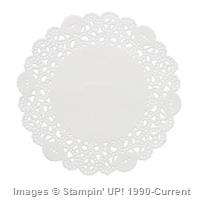
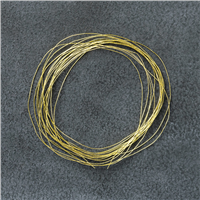
Accessories: Big Shot, Circles Collection Framelits, Dots and Stripes Decorative Mask, White Tea Lace Paper Doily, Gold Thread, Gold Embossing Powder.
The background panel was made using the stripe mask from the Dots and Stripes Decorative Masks. You can make interesting backgrounds by sponging, brayering, or spraying your inks on your cardstock with the mask held in place with removable adhesives.
The strip of white and gold Winter Wonderland DSP, along with the Gold Foil Frame add to the elegance of this poinsettia handmade card. To even go further with the elegance, loop some of the Gold Thread behind the sentiment.
Don’t forget to add 1/2 of a Paper Tea Lace Doily.
Check back to my blog often, as I will be blogging some more Sneak Peeks.
Built for Free Using: My Stampin Blog


