Create Children Christmas Cards
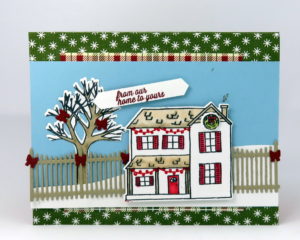
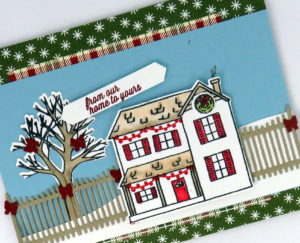
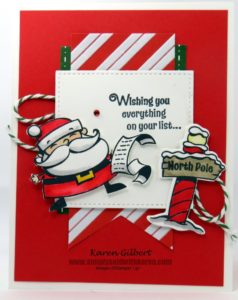
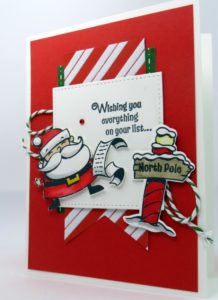
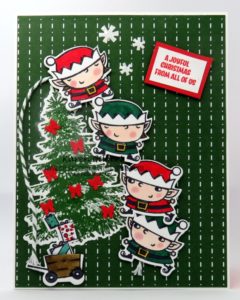
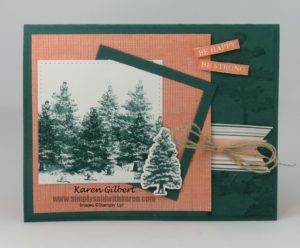
Easily create children Christmas cards with the Signs of Santa Stamp Set and the Santa’s Signpost Framelits Dies. Although this set is great for kids, it’s also great for the “young at heart”.
 Recipe
Stamps:Signs of Santa
Ink:Memento Tuxedo Black
Paper: Thick Whisper White, Poppy Parade, Whisper White, Santa’s Workshop Specialty Designer Series Paper.
Accessories:Big Shot Die Cutting Machine, Santa’s Signpost Framelits Dies, Stitched Shapes Framelits, Triple Banner Punch, Red Rhinestone Jewels, Garden Green Baker’s Twine, Stampin’ Blends: Poppy Parade Duo, Crumb Cake Duo, Smokey Slate Duo, Daffodil Delight Light, Petal Pink Dark, Ivory, Color Lifter.
Many parents try to keep the spirit of Santa around for many years. It’s like the right of passage for children, it’s the magic, and the belief in something good. So often, today, there is not a lot to cheer!
Details:
If you are using Stampin’ Blends to color the images, you need to use the Memento Tuxedo Black ink. This ink is great for alcohol markers and will not bleed and ruin your images.
In the 2018 Holiday Catalogue, Stampin’ Up! expanded their line of Stampin’ Blends giving us more options for coloring. In addition to the blends in the Annual Catalogue, there are the following appearing in the Holiday Catalogue: Real Red (dark & light), Shaded Spruce (dark & light), Basic Black (dark & light), Mango Melody (dark & light). Remember that all Stampin’ Blends can be purchased in combined light & dark set, or individually. You can see and order all the Stampin’ Blends HERE. And, the Whisper White cardstock is a dream to use with the blends. Make sure your work surface is covered so that you will not damage your desk or table. The blends will bleed through to the back of the cardstock and this is a GOOD THING.
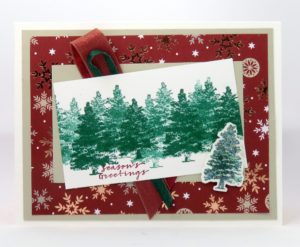
So, create children Christmas cards with Sign of Santa Stamp Set and matching Santa’s Signpost Framelits Dies. Receive 10% of the individual cost of the stamp set and the framelits when you purchase these as a bundle.
Have fun!


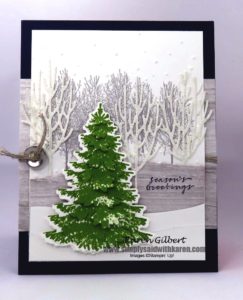
 Specialty Designer Series Paper")


 Before you jump in with both feet to become a stamping business owner, you need to thing about your reasons. While this business can be fun, it is also hard work. You have to think about what type of business you would like to have, think about where your customers will be and how to get them to hear about you. There are many ways that you can get the coaching that you need for running your business. That coach can be me, or a private coach and/or Stampin’ Up!. But a business does not appear out of thin air. It takes dedication and perseverance.
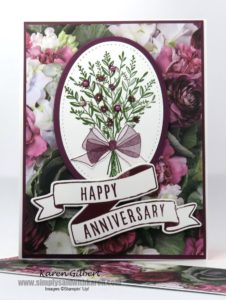


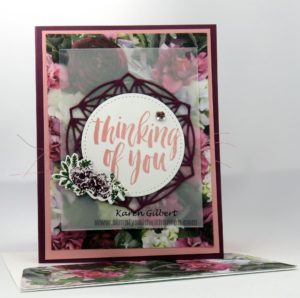
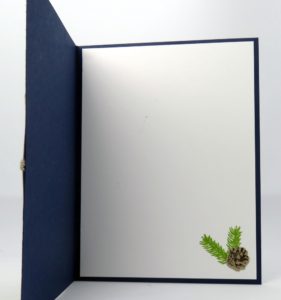 Add a pine bough and and pinecone to the inside of the card.


 Designer Series Paper")


 Braided Linen Trim")

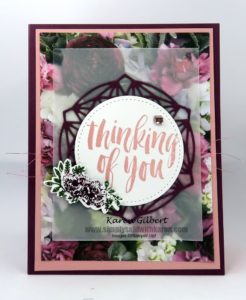
 To purchase the Promenade Petal Suite, visit my