Hey Chick Happy Birthday – Fun Fold – Bridge Card
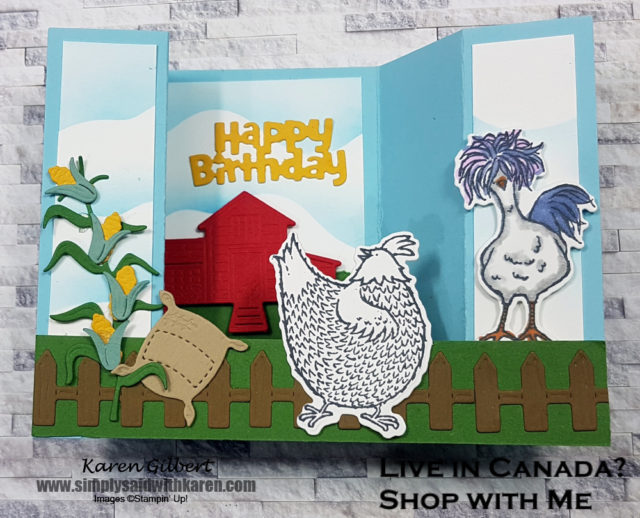
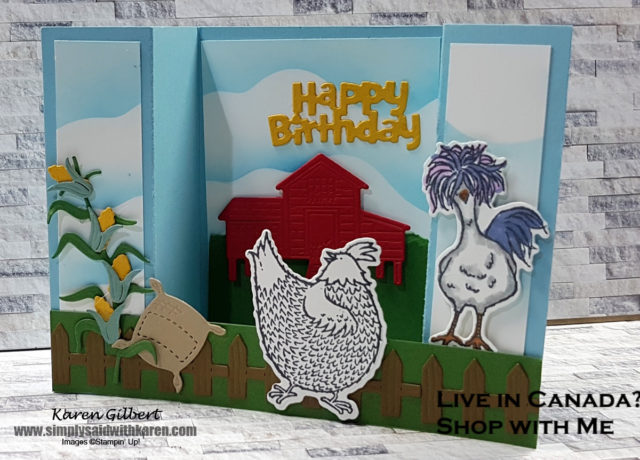
Hey Chick Happy Birthday card is a fun card for all that are young at heart. Use the card for any age, male or female. The Fun Fold is called a bridge card. It is called this because the strip across the bottom hold the two sides. The big thing about this card, is that it will fit into a regular sized envelope.
Fun Fold Card Recipe
Stamps: Hey Chick
Ink: Tuxedo Black, Pacific Point, Stampin’ Blends: Light Smoky Slate, Light Misty Moonlight Light Cinnamon Cider.
Paper: Balmy Blue, Basic White, Real Red, Garden Green, Bumblebee, Soft Succulent, Crumb Cake, Soft Suede.
Accessories: Stampin Emboss & Cut Machine, Chick Dies, Birthday Chick Dies, Diorama Dies.
Other Tools – Adhesives, Glue Dots, Dimensionals and Blending Brush.
Cutting Measurements
Balmy Blue : 4-1/4″ x 8″ Score at 1-1/4″, 2-1/2″ , 5-1/2″ and 6-3/4″
Basic White: 4″ x 7-.25″ , scraps for chicks.
Garden Green – 1″ x 5-1/2″, Scraps for corn stalk.
Soft Succulent: scraps for corn leave.
Bumble Bee: scraps for corn and Happy Birthday.
Real Red: scraps chicken coop.
Crumb Cake: Scraps for Feed Sack.
Soft Suede: scraps for Fence.
Create the Card
- For the clouds, create a template: Use a scrap of Basic White and cut using the Stampin’ Cut & Emboss machine and the 3rd Die from the outside. Lay the template on the Basic White. With the Pacific Point ink and Blending Brush, pick up ink and blend on the Basic White. Go straight across the Basic White, Pick up template and move down until you have enough clouds,
- Cut in order from left to right – this will keep the pattern of the clouds across the card.- 1″, 2-3/4 and the last remaining piece should be 1″.
- Attach this pieces to the 2 end panels and the middle panel and the back of the card.
- Now, die cut the chicken coop, corn stalk. corn, corn leaves, seed sack, and the Happy Birthday from the cardstock as above.
- Cut out 3 pieces of fencing from the Soft Suede. Attach the 3 pieces across the garden green bridge. You will need to trim when you get to the end of the strip.
- Stamp the chicken the is looking backwards and the chicken with the wild feathers with Memento Tuxedo Black ink and die cut. Colour the wild feathers and tail with Misty Moonlight Stampin’ Blends.
- Stamp the beak & feet with Cinnamon Cider Stampin’ Blends.
- Attach the bridge strip to the left hand side of the card. Use Tear & Tape adhesive as there will be pressure from opening and closing the card.
- Close the card so that the left end panel lies on the top. Attach Tear & Tape adhesive the the right hand side of the strip and adhere to right panel and the end of card (see picture).
Finish the card
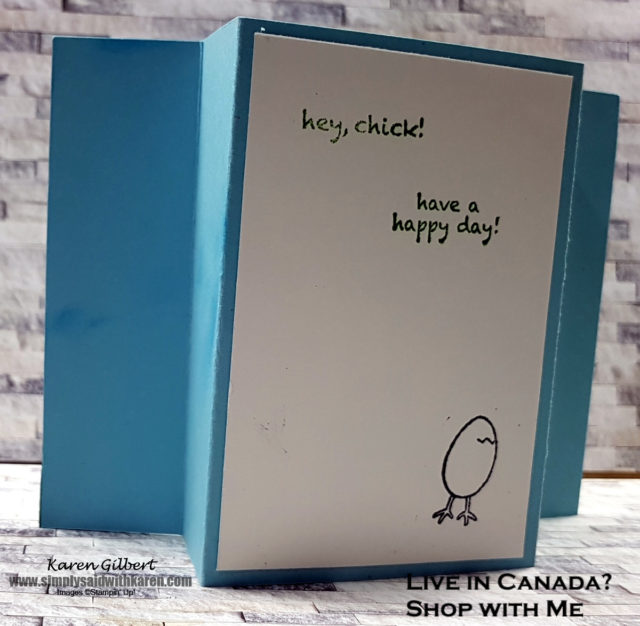
Stamp a greeting on the Basic White panel on the back of the card. Stamp an image if you choose to.
 So, now it’s your turn to create the Hey Chick Happy Birthday Card and tell a story . If you need supplies to build this card SHOP WITH ME on my ONLINE STORE
If you don’t have a Stampin’ Up! Demonstrator, I would love to help you out. Please contact me at karen@simplysaidwithkaren.com


