Craft a Creative Christmas with the 12 Weeks of Christmas
Craft a Creative Christmas
You can craft a creative Christmas and I am going to help you! The 12 Weeks of Christmas will soon be coming to crafters inboxes – but only if….they have signed up and confirmed on the Simply Said With Karen email list by 1:00 pm PT on September 30th. Are you signed up?
You will receive 12 beautiful projects that you can create complete with a supply list and step by step instructions to complete each project. You will receive 5 card ideas, 4 gift ideas and 3 ideas for gift packaging and tags. Woo Hoo!, you’re set.
Sign up Here so that you don’t miss a single project and you can craft a creative Christmas.
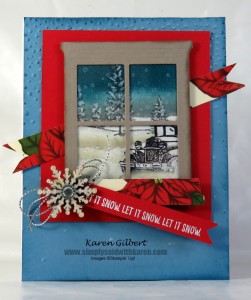
Today, I am sharing a project that you will not see in the 12 Weeks of Christmas emails. The projects that come to you are exclusive and will not be on my blog, Facebook Page, Twitter or any other Social Media sites. So go ahead and craft yourself a creative Christmas with this card.
Stamps: Happy Scenes, Guy Greetings, Snow Place.
Ink/Markers: Island Indigo, Marina Mist, VersaMark, Basic Black, Sahara Sand, Basic Grey, Whisper White Craft.
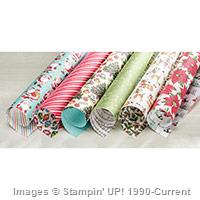
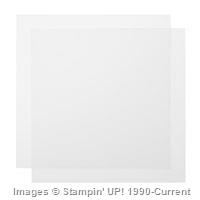
Paper: Whisper White, Marina Mist, Real Red, Whisper White Thick, Tip Top Taupe, Home For Christmas DSP, Window Sheets.
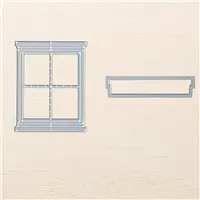
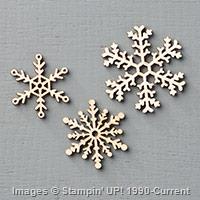
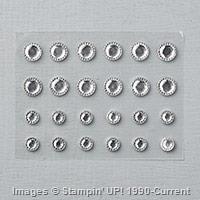
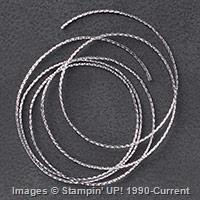
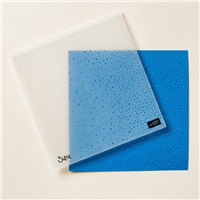
Accessories: Big Shot, Hearth & Home Thinlits, Softly Falling Emboss Folder, White Embossing Powder, Silver Cording Trim, Snowflake Elements, Ice Rhinestone Embellishments, Dazzling Diamonds, White Gel Pen.
Here are some tips for creating this card:
- To create the scene, mask off the lower portion of the Whisper White card stock. Tip a Post-it Note for the masking. Include the gluey part so that your mask will stick to the card stock. Using Sahara Sand, sponge a line across the top of the post-it note to create a horizon, then sponge the next layer up using Marina Mist ink and finally finish off the top with Island Indigo ink.
- When you rip the note for masking, rip for that there are up and downs because you are going to use this for creating snow banks.
- To create the snow banks, move your mask down a bit and sponge with Sahara Sand ink. Move the bumps to different places on the card stock so that they are not in an up and down row.
- Stamp the card from the Guy Greeting stamp set in Basic Black ink and fussy cut.
- Stamp the trees in Basic Grey near the horizon and then stamp a little lower down.
- Using the snow flake stamp, stamp snow flakes in the sky using Whisper White Craft ink. Add snow to the trees using the White Gel Pen.
- Using Multipurpose Liquid Glue, spread a thin layer along the tops of the snow banks. Cover with Dazzling Diamond. Attach the car in the lower right hand side.
- Now build your window using window sheets, the window frame and border,
- Put a thin layer of glue on the Snowflake element and cover with Dazzling Diamonds.
- Cut the window frame and window box from Tip Top Taupe using the thinlits. Cut a piece of the Home For Christmas DSP using the thinlit and attach to Tip Top Taupe.
- Die cut the window frame and attach the window sheet. Finally attach to your happy scene,
- Stamp the “LET it Snow” sentiment on Real Red cardstock with VersaMark. Heat emboss with White Embossing Powder.
- Loop the Silver Cording a couple of times and layer the Snowflake Element and the Iced Rhinestone Embellishment. Place on the window.
- After dry embossing the Marina Mist layer with the Softly Falling Emboss Folder, the outside edges were sponged with Marina Mist. Likewise, the window frame was sponged with Tip Top Taupe.
- Attach the sentiment underneath the Snowflake.
You have now created a beautiful and cute Holiday card.
Make sure that you are signed up for the Simply Said with Karen email list.
Now you can craft a creative Christmas.
Built for Free Using: My Stampin Blog

