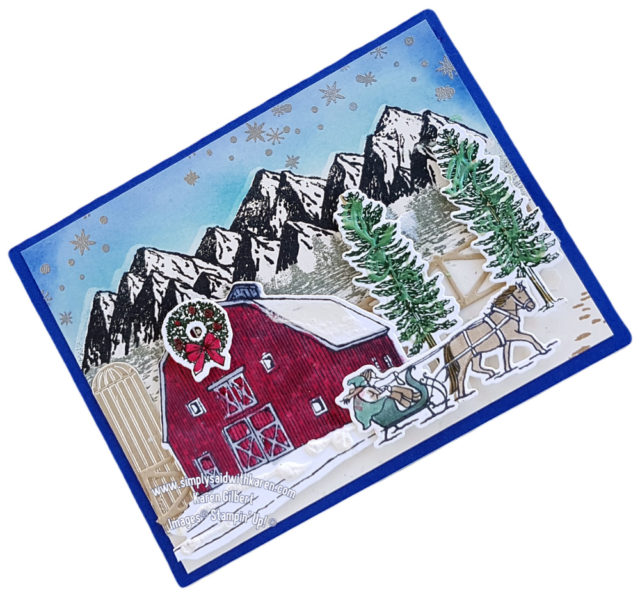
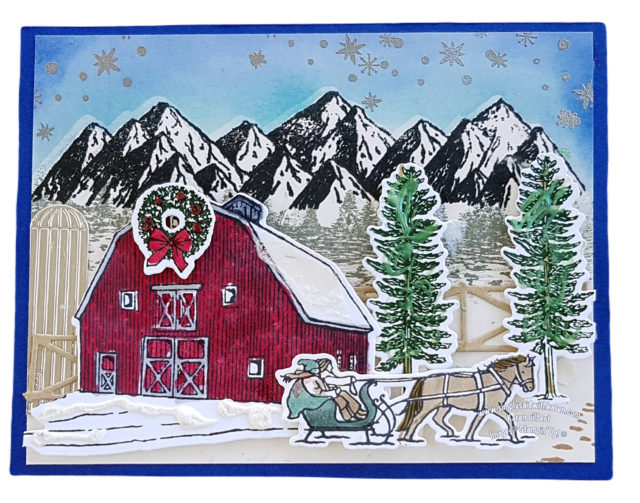
Christmas in the Mountains
Christmas in the Mountains can be a magical time. Have you ever dreamed about staying on a farm over Christmas and enjoying the crisp snow and sunshine? Maybe it’s a sleigh ride with horses pulling you along and you all wrapped up in a warm blanket.
Well, if going to the mountains is out of your reach then maybe a Christmas card showing your dreams.
This card is entered in the Canada Inks Up Team Blog Hop. Enjoy as you hop around to the other entrants. I love to create scene cards and this one is no exceptions.
I love to create scene cards and this one is no different.
Christmas Barn Card Recipe
Stamps: Christmas Barn, Mountain Air.
Ink: Memento Black Tuxedo, Balmy Blue, Starry Night, Smokey Slate, Stampin’ Blends: Cherry Cobbler, Olive Green, Crumb Cake, Real Red, Soft Succulent, Basic Black.
Paper: Basic White, Starry Sky, Crumb Cake, Silver Foil.
Accessories: Stampin” Cut & Emboss Machine, Barn Dies, Majestic Dies, Stampin’ Silver Emboss Powder, Snowfall Accent Puff Paint, Pearlized enamel Effects,Blending Brushes, Masking Paper.
Cutting Measurements:
Basic White: 8-1/2″ x 5-1/2″ Score at 4-1/4″ and burnish with Bone Folder, 5-1/4″ x 4″ (2 pieces), 3-1/2″ x 2-1/2″, scraps for wreath, horse & sleigh, trees.
Starry Night: 4-1/4″ x 5-1/2″.
Crumb Cake: scraps for fences.
Silver Foil: scraps for silo.
Now that your papers are cut & your other supplies collected, let’s
Create the Card
- Die cut the mountains from Masking Paper. Lay the die cut masking paper on the Basic White panel to judge where the mountains will be.
- Stamp the mountains 2 times with Tuxedo Black ink. Stamp the trees from the Mountain Air stamp with Smokey Slate ink.
- Stamp the snow and stars stamp on the Basic White panel with VersaMark. Emboss with Silver Emboss Powder and heat set.
- Use a Blending Brush and the Balmy Blue ink and sponge the top of the Basic White panel above the mountains. The stars and snow will resist the ink. Use the Starry Night ink and blend with Blending Brush on the top edge and down the sides to the edge of the mountains
- Attach the panel to the Starry Night panel
Make up the Smaller images
- Stamp, with Tuxedo Black ink, the Barn on the smaller piece of Basic White the wreath, the horse & sleigh and trees.Use the Blends to color:
- the barn with Cherry Cobble,
- the wreath with Old Olive,
- the bow and berries with Real Red,
- chimney with Light Basic Black,
- barn trim, horse, blanket, scarfs and pants with Light Crumb Cake,the tail & mane with Dark Crumb Cake.
- the sleigh with Dark Soft Succulent and the hats, cape and trees with Light Soft Succulent.
- Die cut the pieces with the matching dies.
- Cut the silo from the silver foil, the fences from Crumb Cake cs and the trees. Colour the tree branches with Soft Succulent.. Once the blends are dry, touch the White Pearlized Enamel Effects to the tree branches.
- Place the Snowfall Accent Puff Paint on the snow in front of the barn, the barn roof,
- Stamp the horse hoof prints with Crumb Cake Ink.
- Place the elements on the panel according to the image below.
 Now, if you cannot get to a Christmas in the Mountains get-a-way, you have another way to enjoy the season, or maybe someone else would like to go on this virtual get-a-way.
Now it’s time to hop to the next person’s blog. Enjoy.
Product List

|

|

|

|

|

|

|

|

|

|

|

|

|

|

|

|

|

|

|

|

|

|

|


Pretty card Karen! Love how you combined stamp sets
Thanks Melva
Love how you built up your scene – looks like a real old fashioned Christmas!
Thank you Ginny
Beautiful card Karen . I love how you incorporated Mountain Air Stamp and Christmas Barn stamp.
Thank you Marilyn
What a great scenic card!! Lots of beautiful details!
Thanks Arlene
What a great card Karen
Thanks Diane.