Christmas Card Class-Part 1 – Sign Up For the Next Class
Christmas Card Class – What You Missed
If you did not make the Christmas Card Class last week, you don’t know what you missed! So, in this post, I will share some of the cards we created so you won’t miss the next one! Here are 2 cards that we created and I will blog about the other 2 in my next post.
I know it’s hard to make an in home class if you don’t reside in my area. But, if you you do, visit my events to see what’s up next.
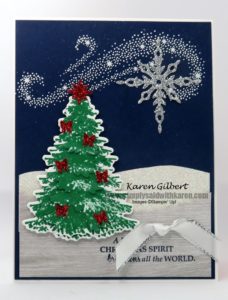
Oh! Christmas Tree
Create this card with the Star of Light stamp set and the Starlight Thinlits Dies, and the Winter Woods and Woods Framelits Dies. You can purchase the Winter Woods and matching framelits as a bundle and save 10%. Do heat embossing , silver die cut stars, to decorate the card. Add a free cut mound of snow from Sparkle Glimmer paper.
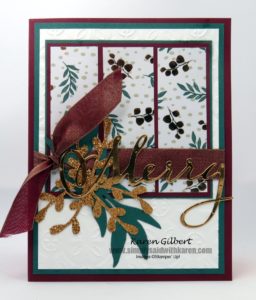
Merry Wishes
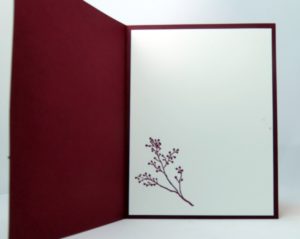
This card features new Merry Christmas to All stamp set and the Merry Christmas THinlits Dies, the Joyous Noel Specialty Designer Series Paper, Joyous Noel 6″x6″ Glimmer Paper and the Merry Merlot & Copper 5/8″ Reversible Ribbon. What make this card unique is the texture add by the glimmer paper. The Glimmer Paper comes in a pack of 24 with 8 sheets each of Copper Merry Merlot and Tranquil Tide. The Designer Series Paper has Copper accents on one side of the paper and beautiful designs. The Merry Merlot Ribbon is reversible, so that you can show the Copper side or the Merlot side. In addition, there is a punch that coordinates with this suite, the Sprig Punch. When I first saw this punch, it reminded me of Reindeer Antlers. So you could use your imagination when creating different projects. Have fun with it.
Be sure to check back for my next post to see the other cards from the Christmas Card Class.


