Capture Natures Palette with the Layers of Beauty Bundle
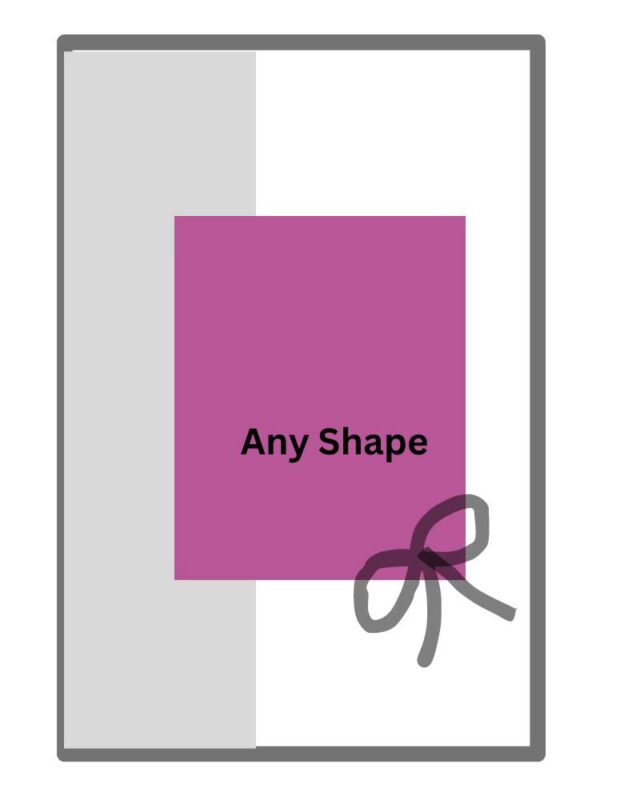
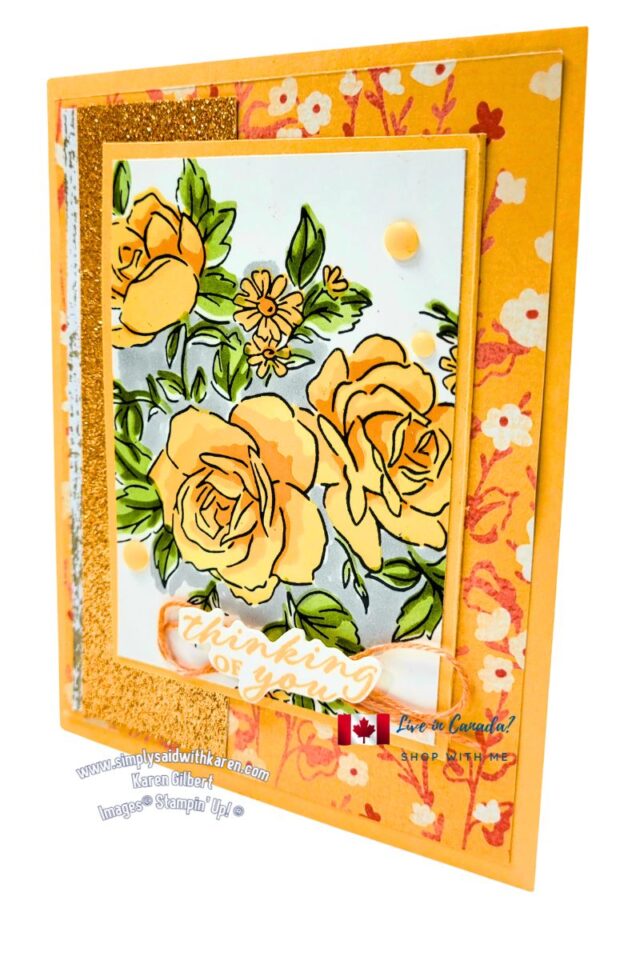
Capture Nature’s Palette with the Layers of Beauty bundle and create a stunning card. The card utilizes a sketch for inspiration. A sketch helps you when you design your card. You can interrupt the sketch any way you want. You have the ability to turn, the design sideways, upside down to get the look you like. There is no right or wrong way. It only needs to appeal to you artistic soul.
Thank you for joining in the Blog Hop. You will find the rest of the Blog addresses below. Please have a look at the posts which will provide you with inspiration.
Nature’s Palette Card Recipe
SUPPLIES
Stamps: Layers of Beauty, Wonderful Thoughts
Ink: Tuxedo Momento Black, Peach Pie, Lemon Lolly, Pumpkin Pie, Old Olive, Soft Seafoam
Paper: **please note that the measurements are not included here. They are in the Inspiration in Ink Tutorial (find out below how you can earn this tutorial for free or purchase the tutorial)**.
Peach Pie : Card Base
Unbounded Beauty 12″ x 12″ Designer Series Paper
2024-2026 In Color 12″ x 12″ Glimmer Specialty Paper
Country Woods 12″ x 12″ Designer Series Paper
Basic White
Accessories: 2024-2026 In Color Resin Dots, (2 large, 1 small), Baker’s Twine Essentials Pack (white)
Tools: Stampin’ Cut & Emboss Machine, Layers of Beauty Dies, Wonderful Thoughts Dies, Stampin’ Blends: Smoky Slate (light), Peach Pie dark), Blending Brushes ,Layers of Beauty Decorative Masks.
Basic Supplies: Paper Trimmer, Bone folder, Paper Snips, Take Your Tool Pick, Stampin’ SEAL+, Multipurpose Liquid Glue, Stampin’ Dimensionals, Mini Glue Dots, Tear & Tape Adhesive.

INSTRUCTIONS
1. Cut the card base and score at 4-1/2″. Fold and burnish with Bone Folder.
2. Cut the Unbounded Beauty DSP and attach to card base.
3. Cut the narrow strip of Country Wood DSP and the 2024-2026 In Color Specialty Paper. Attach the Country Wood DSP to the Glimmer Paper DSP leaving a narrow strip of the woods DSP at the left hand side.
4. Stamp the large image from the Layers of Beauty stamp set using Memento Black Ink on Basic White.
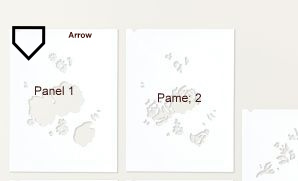
How to use the Masks
5. Lay panel on scratch paper and tack down so it doesn’t move.
6. Lay Mask#1 down on panel with the notch to the top left. Use Blending Brush and Lemon Lolly ink and fill in spaces. Remove Mask #1
6. Use Mask 2 and follow same steps as step1, use Peach Pie ink.
7 Use Mask 3 and Pumpkin Pie ink.
8. Use Mask 4 and Soft Seafoam Ink.
9. Use Mask 5 and Old Olive ink.
10. Use Smoky Slate Blend (light) and colour in the white space around the image. This will ground the image.
11. Trim the image panel to 2-3/4″ x 4″. Determine the focal part of the image before trimming. Adhere the image panel to a Peach Pie panel and attach to the glimmer strip.
12. Stamp sentiment on a scrap in Peach Pie, die cut with coordinating die. Color a piece of White Baker’s Twine with Dark Peach Pie Blend (use the brush end to color). Loop around the sentiment panel
13. Attach Basic White panel to the inside of card. Add a strip of DSP and a sentiment.
The masks are a fun way to add interest to your projects. In fact, it’s easy to add colouring to your project
So I hope you enjoyed this post on Capture Natures Palette.
Please hop along with all of us and leave a comment letting me know what you liked and didn’t like. I am always looking for ways to improve.
Thanks for joining our Blog Hop.
Shop with Me if you need any products to create any projects. Need questions answered? Email me at karen@simplysaidwithkaren.com


Lovely card Karen!! Love how you used the Glimmer Paper!!
Love your bright card! Great take on the sketch!