Split Front Fancy Fold For the Inspirations in Ink Blog Hop
For you today, I created a split front card fancy fold for you. This card is also for the monthly Inspirations in Ink Blog Hop.
The Inspirations in Ink Blog Hop is a group of global demonstrators, who like to share with others. First, thank you for stopping by to see what I created. You can hop to other blogs if you scroll below and click on the link under my name. Please also leave some love.
For you today, I created a split front card fancy fold for you. This card is also for the monthly Inspirations in Ink Blog Hop.
The Inspirations in Ink Blog Hop is a group of global demonstrators, who like to share with others. First, thank you for stopping by to see what I created. You can hop to other blogs if you scroll below and click on the link under my name. Please also leave some love. 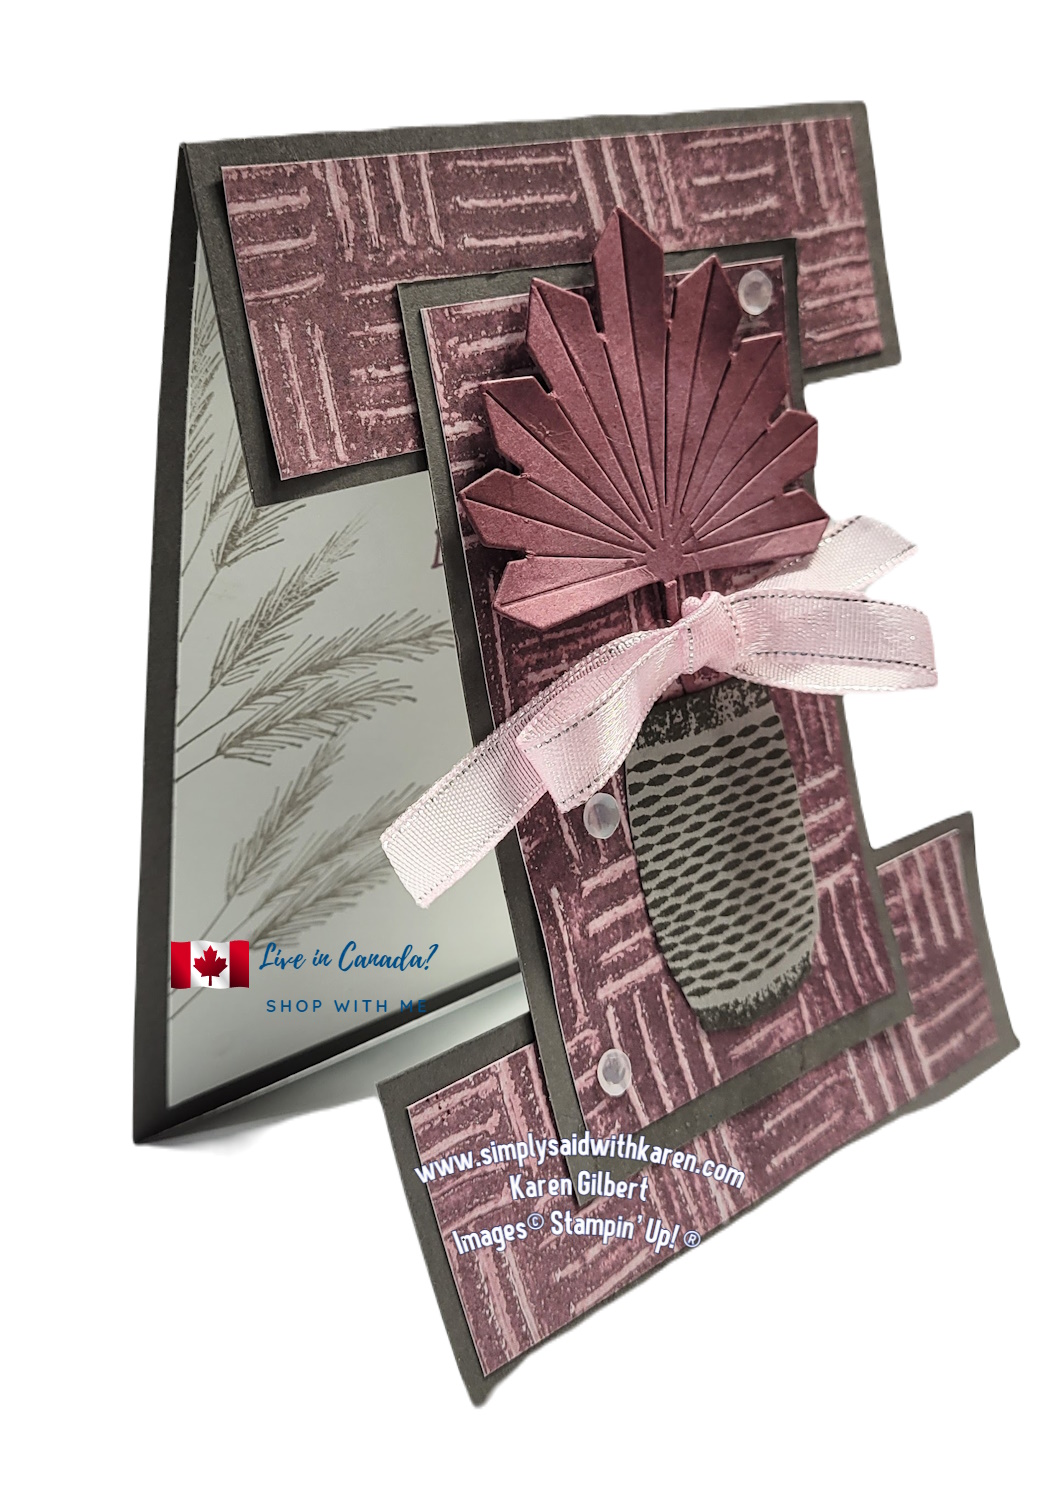
Recipe for a Split Fold Card
Stamp set: Earthen Textures, Inked & Tiled.
Inks: Gray Granite, Moody Mauve.
Papers: Pebbled Path, (11 ” x 4-1/4/28cm x 14.0cm), Basic White (4” x 5-1/4”/1 x 10cm” x 13.5 cm), Gray Granite (scrap For Vase), Earthen Textures Designer Series Paper. (2 @ 1-1/4” x 4”, 1 @ 2-1/4” x 4”, 2 @ 3.5cm x 10cm,1 @ 5.5cm x 10cm).
Accessories: Adhesive Backed Sequins Trio, 3/8 Sheer Ribbon Pack (Bubble Bath 7” 18cm.
Tools: Earthen Textures Dies, Stampin’ Cut & Emboss Machine, Small Blending Brush
Basic Tools: Paper Trimmer,Bone folder, Paper Snips, Take Your Tool Pick, Stampin’ SEAL+, Multipurpose Liquid Glue, Stampin’ Dimensionals, Mini Glue Dots.
INSTRUCTIONS
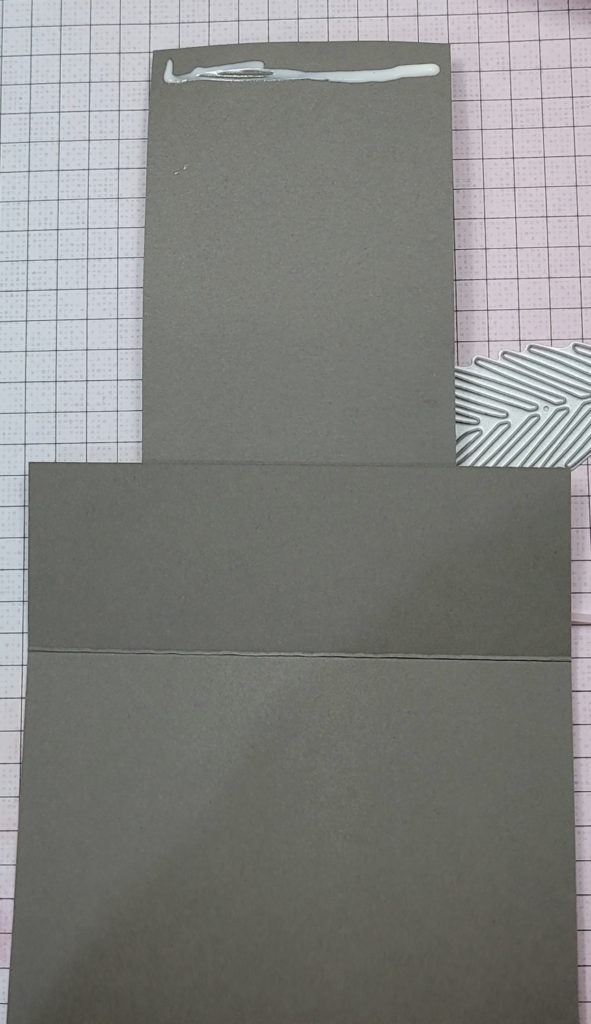
- Use your Paper Trimmer and cut off 1-1/2” (3.8cm) from the end of Card Base, move the paper over to the 2-1/2” (6.4cm) mark and cut off (becomes center panel). Now move the paper over to the 1-1/2” (3.8cm) mark and score. This becomes the top flap.
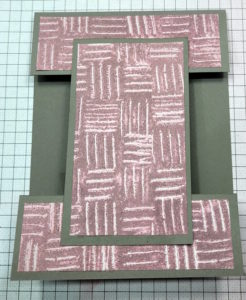
- Adhere 1-1/4”(5.7cm) DSP to the flap, the 1-1/4” (5.7cm) DSP to the 1-1/2” (6.4cm) strip and the 2-1/4” (5.7cm) DSP to the 2-1/2(6.4cm) Strip. with Multipurpose Liquid Glue.
- Attach the center panel by laying a line of glue across the top of the panel. *see photo. Align the single strip to the bottom of the card, hold and lay a strip of glue to the bottom of the center panel and attach to the strip. *see photo.
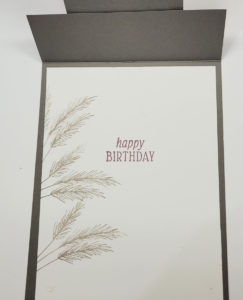
- Stamp the left hand side of the Basic White panel with the grassy looking stamp. Stamp with Granite Gray ink (stamp off once before stamping on cs. Choose a sentiment that will fit behind the center panel and not be seen. Stamp with Moody Mauve ink.
- Die cut the fan foliage in Moody Mauve cs. Sponge Moody Mauve ink on the tips of the fan. Trim off a bit of the stem and attach it to center panel with Stampin’ Dimensionals.
- Stamp the scrap of Granite Grey cs with the smaller vase loaded with Pebbled Path ink. Fussy cut with Paper Snips and attach to the center panel with Stampin’ Dimensionals.
- Make a Bow with the Bubble Bath ribbon 7” (18cm) and attach with Glue dots below the fan leaf.
- Add the white Adhesive Backed Sequins to the card front.
- If you wish, decorate the envelope with DSP and/or a stamped image.
Visit the other Inspirations in Ink Blogs.
You are at Karen Gilbert’ Blog. Thanks for Hopping with us.
Theresa McEntee – USA
Robbie Rubala – USA
Christy Gridley – USA
Deirdre Croal – USA
Karen Beck – Canada



Great use of the papers & perfect way of showcasing this lovely bundle Karen. Love it!
Beautiful card Karen!!