Inked and Tiled Bundle for the Inspiration in Ink July Blog Hop
The Inked and Tiled bundle comes with the stamp set and 2 punches. In addition to the bundle, you can purchase the Lost Lagoon Ribbon and Designer Series Paper. You can use one item code (161207) to order the entire suite.
Once again, it’s the monthly Blog Hop with the Inspirations in Ink bloggers. This is a group of Stampin’ Up! demonstrators around the globe who love to create, give you tips and demonstrate techniques. So join us by clicking on the links at the end of this post and see what everyone is up to.
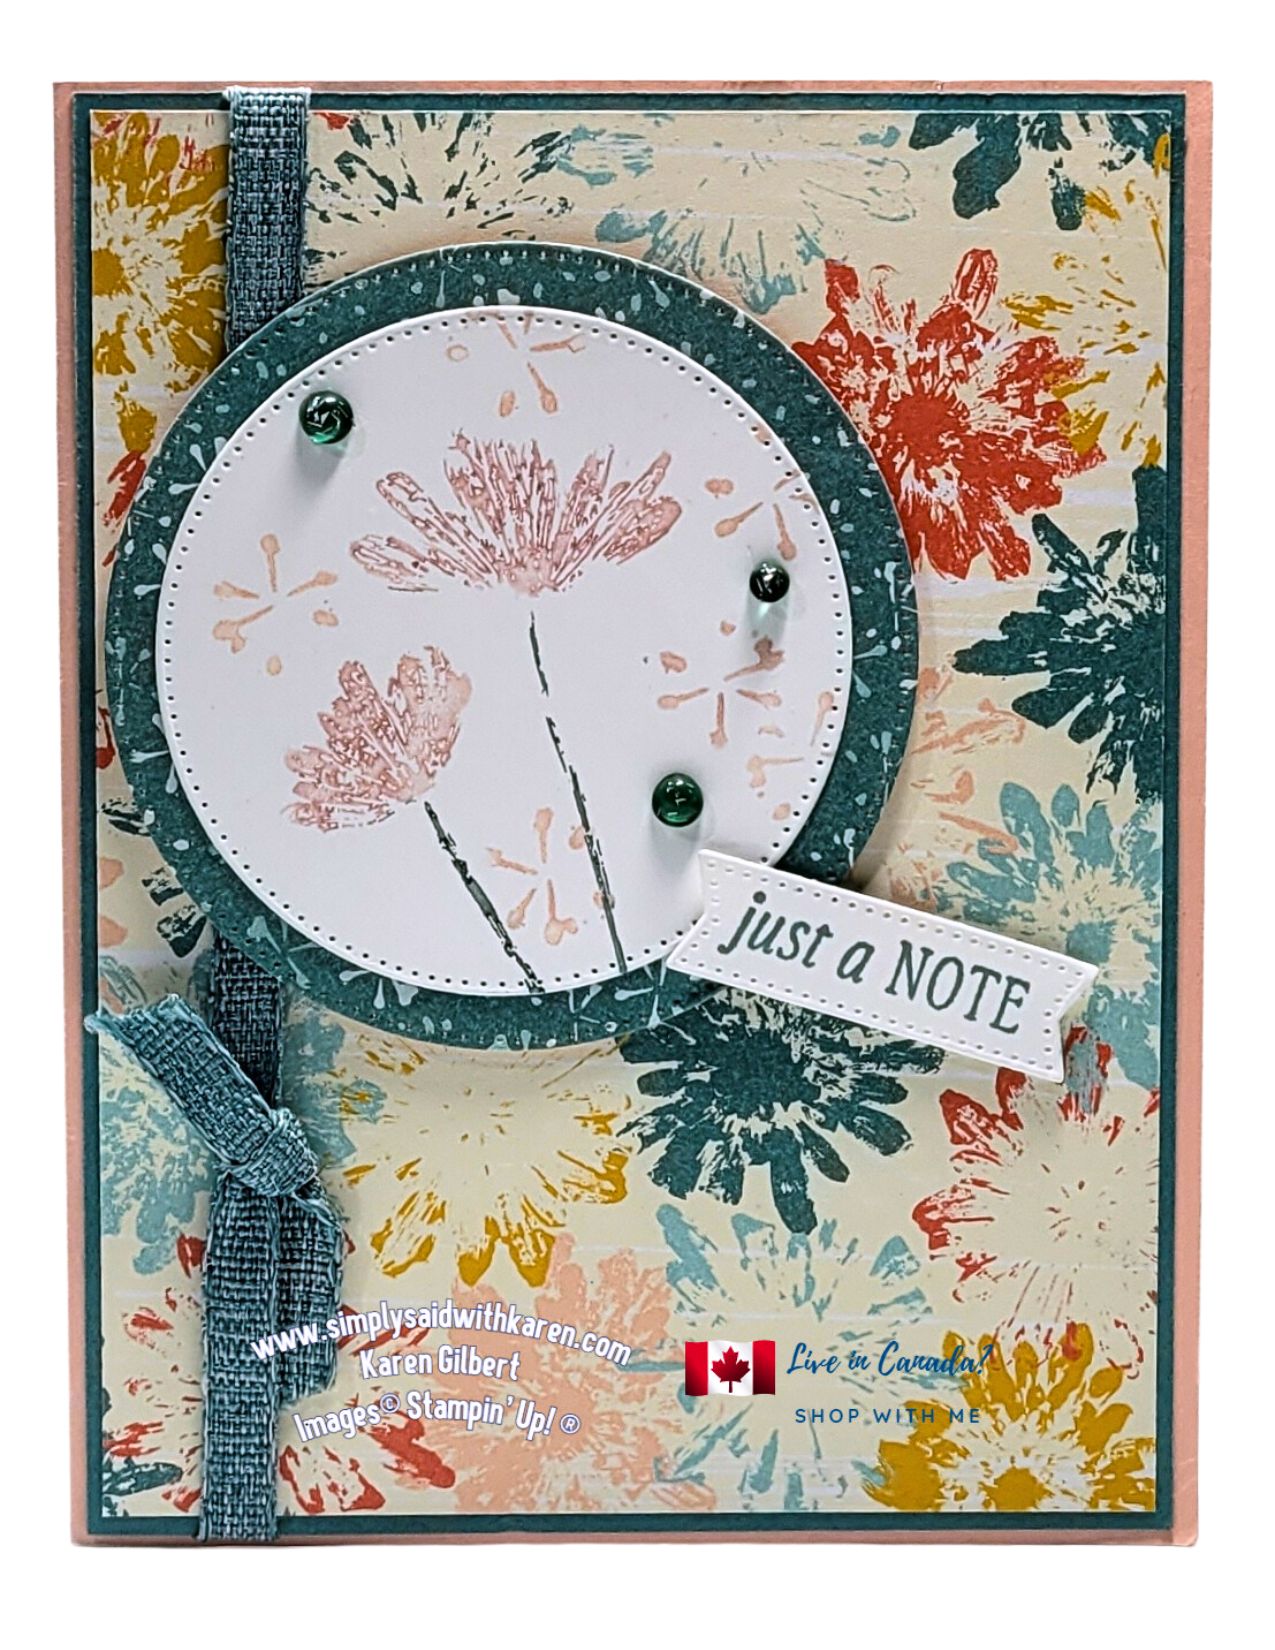
 “Just a Note” Card Recipe
SUPPLIES
Stamps: Inked & Tiled.
Ink: Lost Lagoon. Stampin’ Write Markers: Petal Pink, Lost Lagoon.
Paper: Petal Pink (card base) 8-1/2″ x 5-1/2″ score at 4-1/4″ burnish with Bone Folder, Lost Lagoon 4″ x 5-1/4″, Basic White: 2-1/2″ x 2-1/2″, 4″ X 5-1/4″ {Inside Panel), 4-3/4″ x 5″
Inked Botanical 6″ x 6″ Designer Series Paper, 3″ X 3″. 1/2 x 4″
Accessories: Lost Lagoon Ribbon – 7″ and 4″, Tinsel Gems Three Pack, Stylish Shapes Dies
Tools: Stampin’ Cut & Emboss Machine
Basic Supplies
Paper Trimmer
Bone folder
Paper Snips
Take Your Tool Pick
Shammy
Stampin’ Seal/Seal+
Multipurpose Liquid Glue
Stampin’ Dimensionals
Mini Glue Dots
INSTRUCTIONS
- Fold Base Card in half along score line and burnish with Bone Folder.
- Adhere DSP to Lost Lagoon Cardstock with Multipurpose Liquid Glue.
- Attach each end of 7” (18cm) ribbon to the back of the Lost Lagoon Cardstock with Seal+.
- Cut 4” (10cm) of ribbon. Tie a faux bow around the length of ribbon below where the circles will be placed. Trim ribbon ends.
- Die cut DSP with Largest circle from the Stylish Shapes Dies.
- Die cut Basic White cardstock with the 3rd largest circle from the Essential Shapes Dies
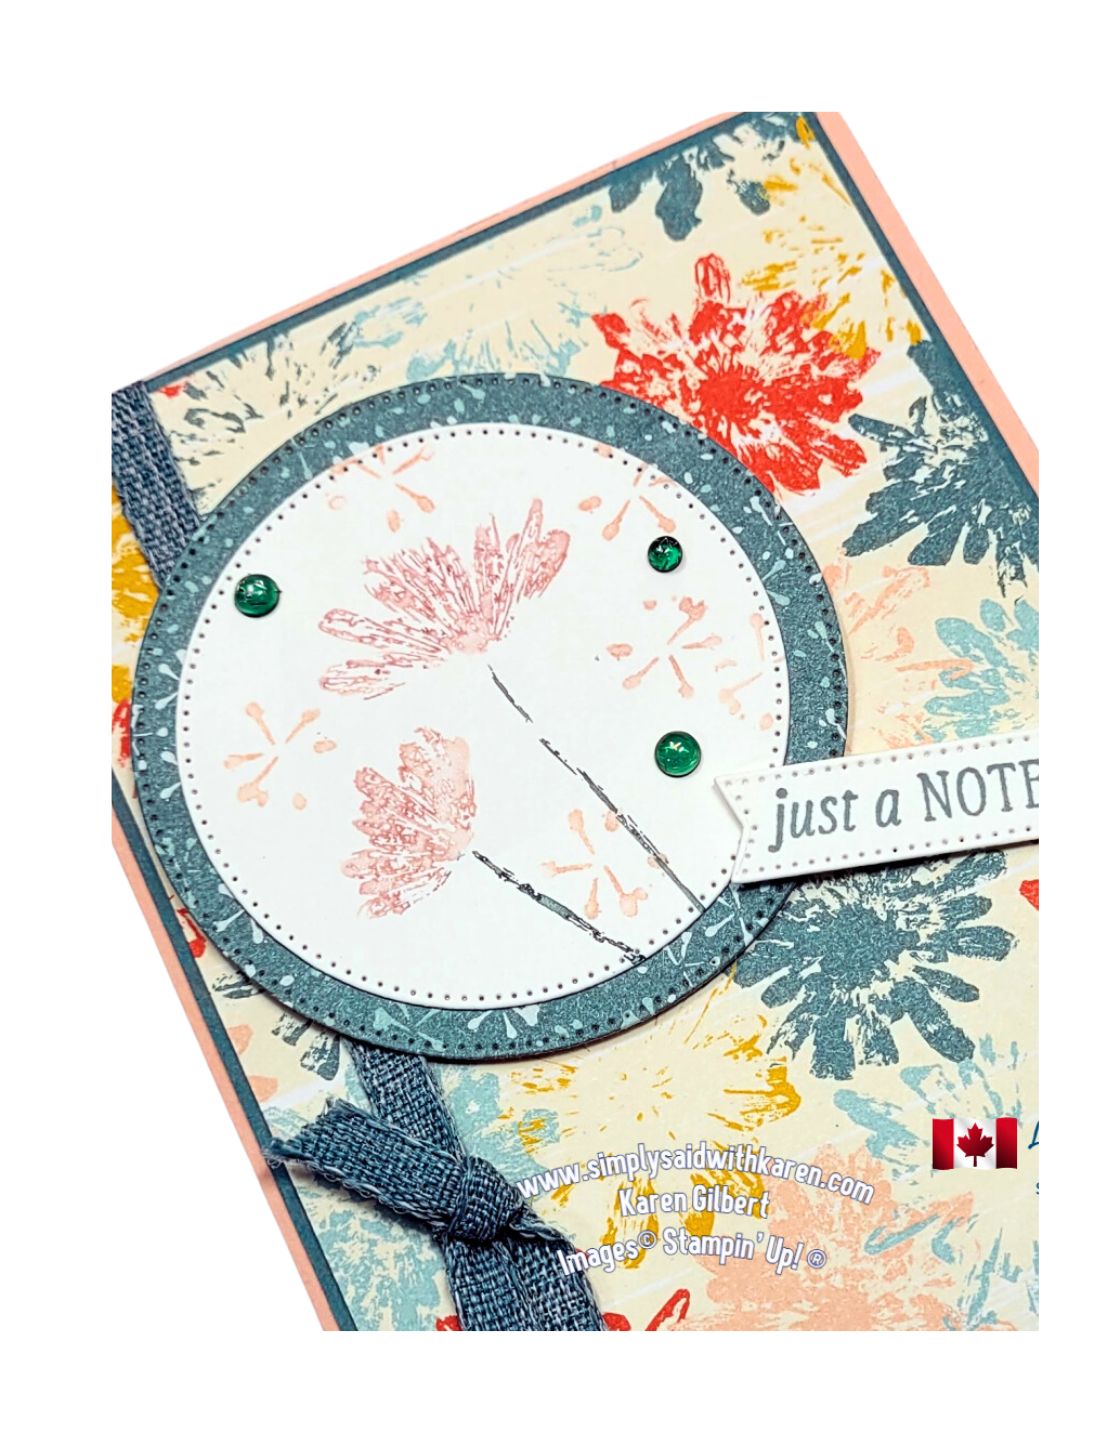
- Colour the flower with the Petal Pink Stampin’ Write Marker. Colour the leaves with the Lost Lagoon Stampin’ Write Marker. Huff on the stamp to moisten the ink and stamp on the Basic White circle.
- Stamp the tiny flowers in Petal Pink ink in various places on the Basic White circle.
- Attach the Basic White circle to the DSP circle with Seal+. Attach to card front with Dimensionals.
- Stamp the sentiment on the scrap of Basic White with Lost Lagoon ink. Die cut with the small flag die. Attach to the card front just over the circle.
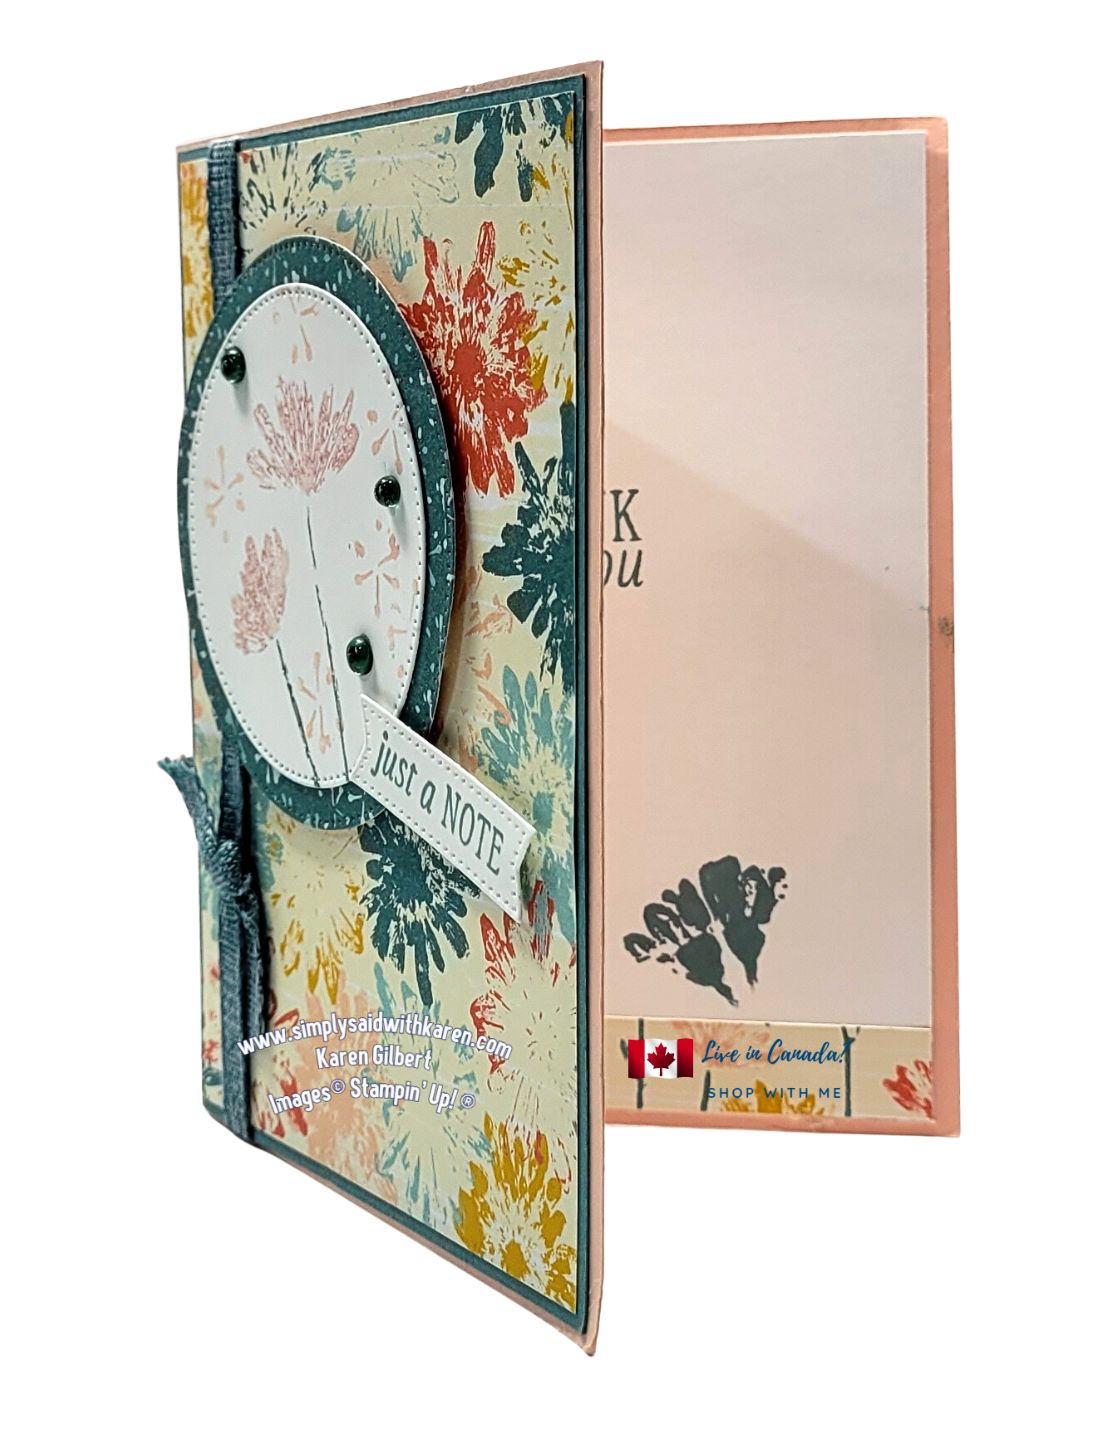
- Attach the strip of DSP to the bottom of the inside panel and stamp the small flower in Lost Lagoon ink. Stamp an additional sentiment if you wish.
- If you wish, decorate the envelope with DSP and/or a stamped image.
Please join us in the Blog Hop to see the amazing creations from other demonstrators. The Inked and Tiled Bundle coordinates with many other products in the catalogue and online,
Click on the links below to visit the other blogs in the hop. I hope that you have enjoyed the blog hopw
If you have any questions, please contact me at karen@simplysaidwithkaren.com.
Blog Hop Links
Karen Beck – Canada
Theresa McEntee – USA
Rebecca Nutley – Australia
Robbie Rubala – USA
Vicky Wright – Australia
Christy Gridley – USA
Deirdre Croal – USA
Thanks for hopping along with us. Please leave some love for all of us.
Click any of the images and you will be taken to my ONLINE STORE for supplies used in this card.


So pretty! I really like your layout, especially the circles.
Beautiful use of DSP, nice card
Lovely card Karen!! I love these colors and great layout!😊
Lovely card Karen. I am loving your layout too.