Paper Crafting Mistakes and How to Fix Them
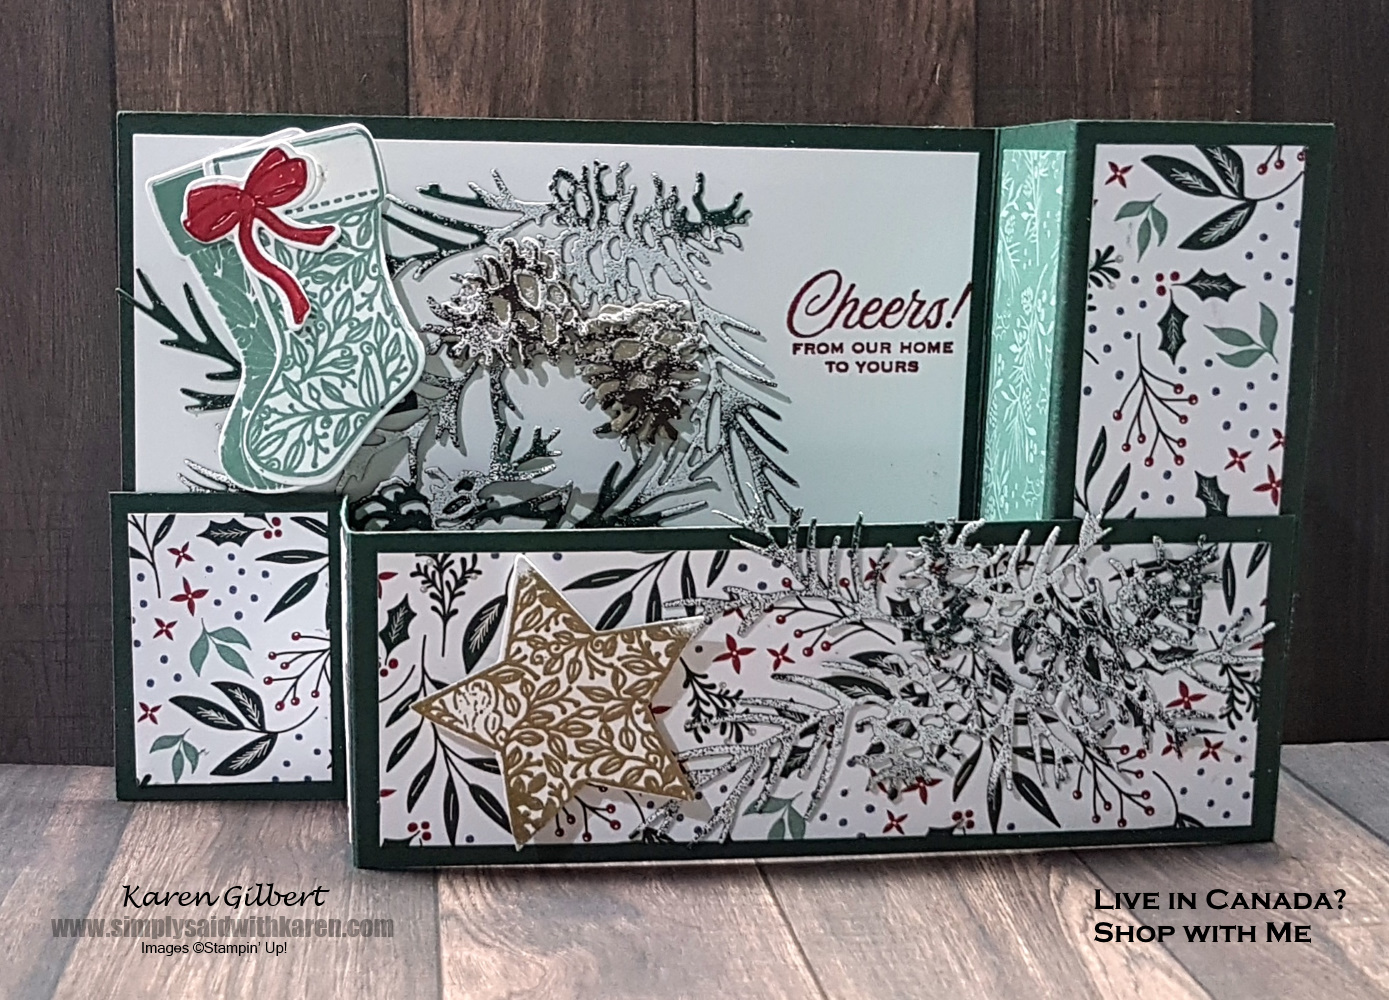
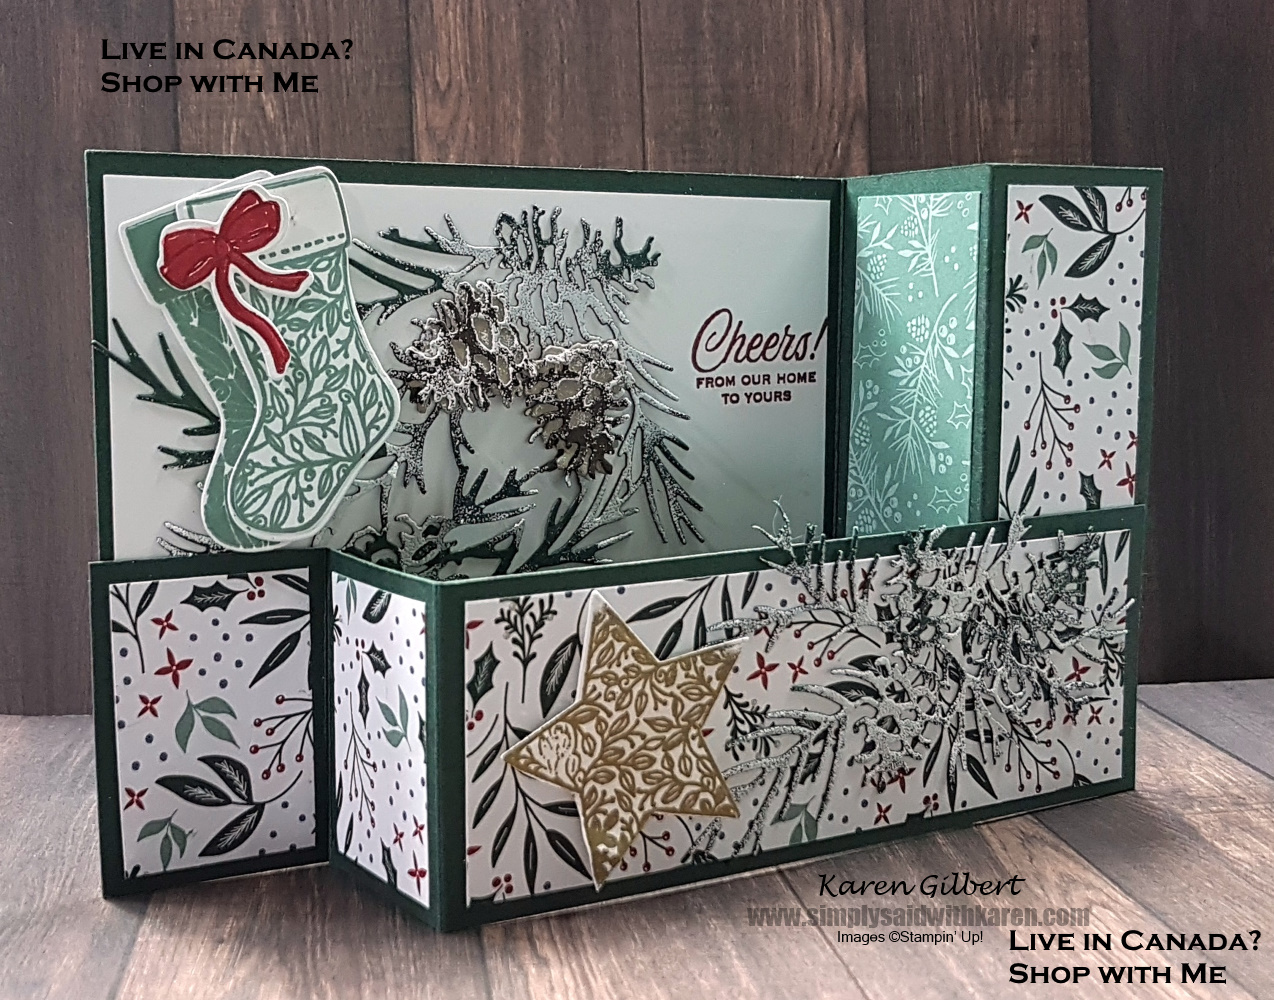
Paper crafting mistakes are annoying and then they happen, we try to fix them. Sometimes the fix turns out and sometime is doesn’t. When I designed this card, I wanted to do a wiper card. The wiper card has a mechanism that will pop out an image when it is opened. However, greenery die cut with the Christmas Pinecones dies, had too many sharp branches. The design called for the star to pop out from behind the smaller z-fold, but it kept sticking on the branches. By this time, all the cardstock and designer series papers were cut and attached.
So, what did I do? Instead of throwing out the half done card, I took the wiper mechanism off the back of the z-fold strip and went in another direction.
Stocking Card Recipe
Stamp Set: Tidings & Trimming,
Inks: VersaMark, Soft Succulent, Tuxedo Black Memento
Paper: Evening Evergreen, Basic White, Crumb Cake, Early Espresso.
Accessories: Stampin’ Cut & Emboss Folder, Christmas Trimming Dies, Christmas Pine Cone Dies, Cherry Cobbler Dark Blends, Stampin’ Gold Emboss Powder, Stampin’ White Emboss Powder, Silicone Craft Pad, and sponge.
Paper Cutting Measurements
Evening Evergreen (card base) 8-1’2″ x 4-1/4″ along the 8-1/2″ side, score at 1-1/2″ and 3″. ( The score lines are on the right side of the card base).
Evening Evergreen: (z-fold mechanism) 8-1/2″ x 2″ . along the 8-1/2″ side, score at 1-1/2″ and 3. When the card is finished, these score lines will be on the left hand side.
Evening Evergreen: 5-1/2″ x 4-1/4″.
Crumb Cake and Early Espresso scraps for pinecones.
Tidings of Christmas 6″ DSP- 4″ x 1-1/4″ (2), 1-3/4″ x 1-1/4″ (2), 1-1/4″ x 4-3/4″.
Basic White: 4″ x 5-1/4″ (2), Scraps for star, stockings and bow.
Create the Card
- Attach one of the Basic White panels to the left side of the card.
- Die cut the greenery from Evening Evergreen – use the detailed die from the Christmas Pine Cone Dies. With the Scissors snips, cut the greenery into 2 pieces. Die cut 2 sets of pine cones from the Crumb Cake & the Early Espresso. Use the detailed die to cut the Early Espresso and the Crumb Cake to cut the solid pine cone. Attach the detailed die cut to the solid piece
- With the VersaMark ink pad, tap ink on the 2 pieces of the greenery and pine cones and heat emboss with white emboss powder. Lay the greenery on the Craft Silicone pad and use a sponge to apply Multipurpose Liquid Glue to the back and then attach 1 to Basic White cardstock. Attach the pine cones to the greenery.
- Stamp 2 stockings on Basic White cardstock with Soft Succulent ink, stamp the ribbon bow on the Basic White cs with Tuxedo Black ink. Die cut with matching dies. Colour the Ribbon Bow with Cherry Cobbler Stampin’ Blends, Attach the stockings to the left side of the Basic White panel and the the ribbon bow to the stockings.
- Ink the sentiment with Cherry Cobbler ink and stamp on Basic White panel. Before you stamp check to make sure that there is room for the size of your sentiment.
- Attach the DSP to the remaining panels. See photo.
- Stamp the star using VersaMark on Basic White. Heat emboss with Gold Emboss Powder. Attach the remaining greenery to the strip that will go across the bottom. Attach the star using Stampin’ Dimensional. Adhere the Z-fold strip so that the 2 smaller panels are on the left side and the large panel is on the right side. (see picture above)
- Stamp another sentiment on the 2nd Basic White panel and adhere to the back of card .
- Decorate your envelope if you like.
Final Thoughts
This how I fixed the paper crafting mistake by making a few alterations. Depending upon how large the mistake is you can us an embellishment, ribbon, or cardstock. You can save your card. Leave me a comment to tell me how you fix your paper crafting mistakes.
If you need supplies to create this card, please contact me or SHOP WITH ME


