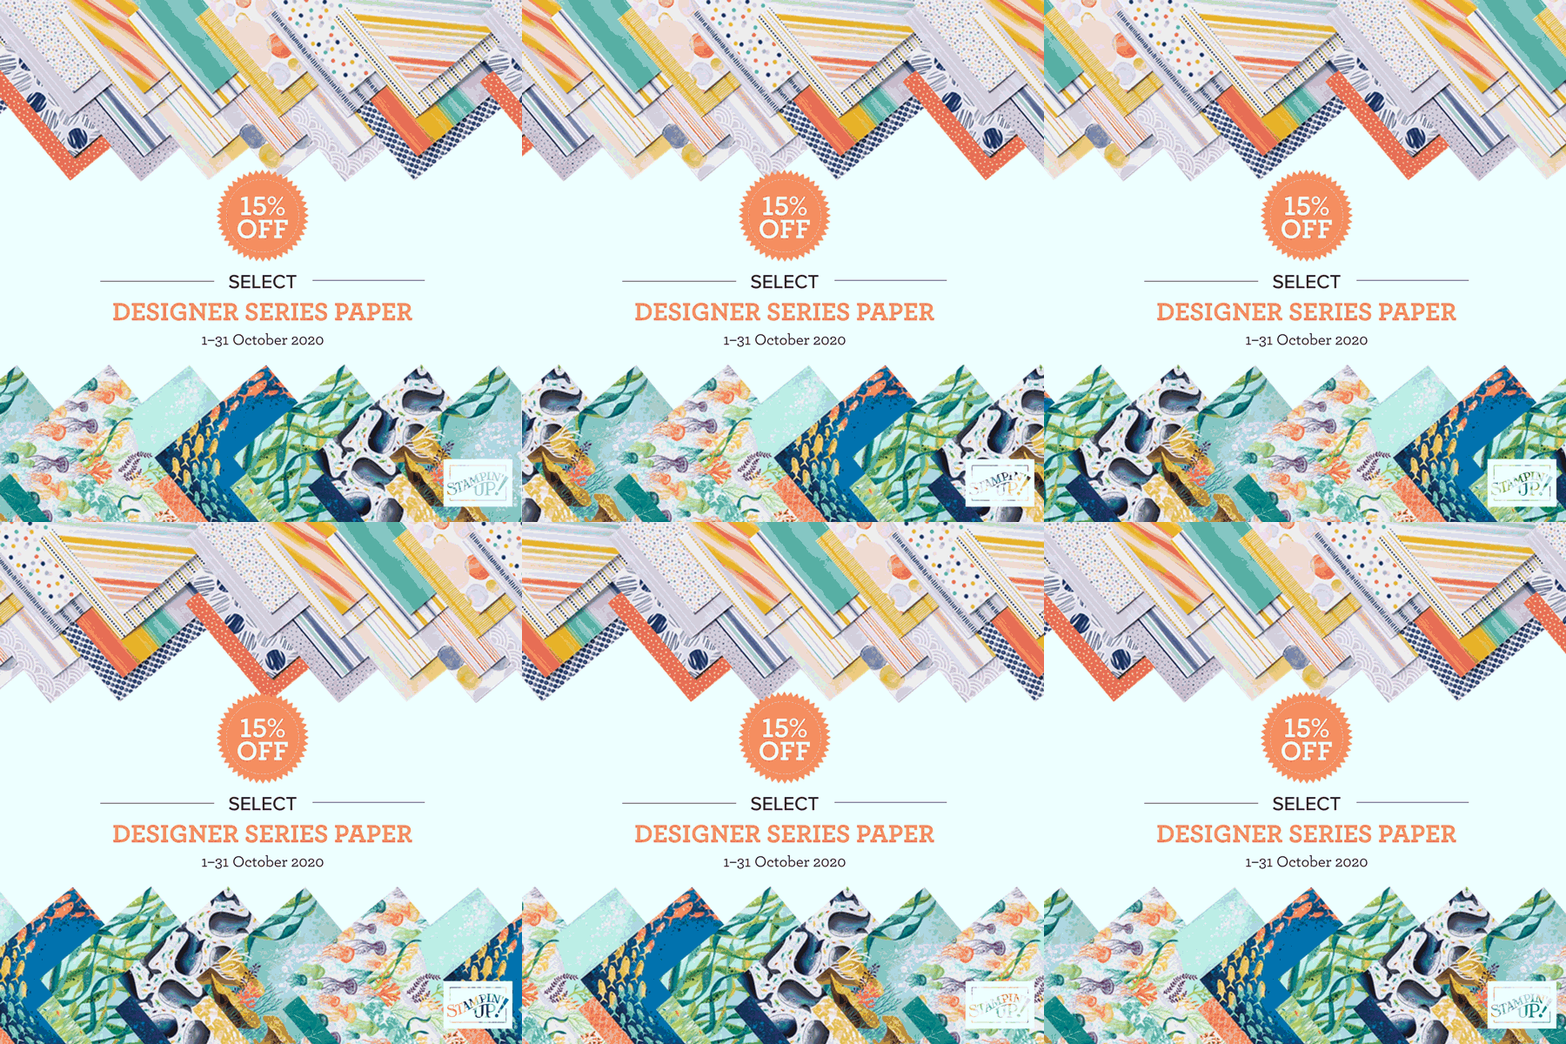
Designer Series Paper Promo and Card Samples – Order Yours Soon!
Designer Series Paper is a great way to add pizzazz to your creations. You can add these papers to Scrapbooks, Cards and 3-D items. And what’s really great are the colours are all listed and you can coordinate the rest of your supplies. Do you have difficulty deciding on the colours to use for your projects?
Well that comes to an end. Choose your stamp set and any dies or punches that you would like to use for your projects. Now, choose your colours. Maybe you have a go-to-colour that you use often, or maybe you want to stretch yourself and use some entirely different. The choice will be yours. Another benefit from using Designer Series Paper is the ability to coordinate embellishments, ribbons , etc. You will be so proud of your work.
Purchase the Designer Series Paper on my ONLINE STORE.
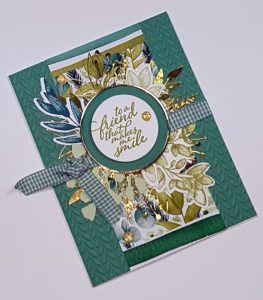
Here’s a project using the Forever Greenery DSP, one of the papers in this promotion.
The colors in this designer papers are beautiful. There a shades of Pretty Peacock, Just Jade, Garden Green, Shaded Spruce, Soft Seafoam, Pear Pizzazz. The Pretty Peacock cardstock form the basis for this card.
DSP Card Recipe
Stamp Set: Forever Fern.
Ink: Pretty Peacock, Old Olive, VersaMark.
Papers: Whisper White, Pretty Peacock, Forever Greenery Designer Series Paper.
Accessories: Stampin’ Cut & Emboss Machine, Greenery Embossing Folder, Forever Gold Laser-Cut Specialty Paper, Gold Hoops, Gold Stampin’ Emboss Powder, Gold Glitter Enamel Dots, Flowers For Every Season Ribbon Combo Pack (Just Jade Checked Ribbon), 1-1/2″ Circle Punch, 1-1/4″ Circle Punch.
Paper Cutting Measurements:
Whisper White 5-1/2″ x 8-1/2″ Score at 4-1/4: Fold and burnish with Bone Folder. plus scraps to stamp leaves and sentiment.
Pretty Peacock- 5-1/2″ x 4-1/4″. Scrap to go behind Gold Ring.
Designer Series Paper: 2-1/2″ x 5-1/4″.
Instructions to Create the Card
- The Greenery Embossing Folders are a set of 2. They are narrower than the usual embossing folders. I wanted ti appear as if the embossed panel went across the entire card. Slip the cardstock into the embossing folder and emboss as usual. Remove the cardstock and move it over (left or right depending how you placed the embossing previously. Line up the design with the one that you already did, And run through the Embossing Folder. Place the DSP on thee center of embossed panel and attach with Stampin’ Seal.
- Stamp and Die cut, various styles of leaves, Adhere a gold shape, (square, hexagon, rectangle) with leaves attached from the Forever Gold Laser-Cut Specialty Paper. Arrange the larger leaves vertically so that they mirror each other and attach. Add a couple of the single leaves from the Forever Gold Laser-Cut Specialty Paper. Cut a piece of ribbon 8″ long. Snip of a piece to use as a faux bow, or commonly knows as a knot. Attach each end for ribbon to the back of panel. Attach this layer to the Whisper White card base . Wrap the shorter piece of ribbon around the one attached to the panel and tie in a knot. Make sure this is one the left side.
Finish Up Your Card
- Punch a circle from Whisper White scraps with the 1-1/4″ Circle Punch, Punch another circle from the Pretty Peacock with the 1-1/2″ Circle Punch.
- Now this is the tricky part – Attach the Pretty Peacock circle to the back of the Gold Ring. You will need to be every so careful attaching the paper or you will get glue on the ring. Hold in place until the circle and cardstock are bonded,
- Stamp the sentiment on the Whisper White circle with VersaMark. Sprinkle with Gold Stampin’ Emboss Powder and heat set with Heat tool. Attach to the Gold circle and then attach everything to the center of the card.
- If you wish you can place a couple of the Gold Glitter Enamel Dotson the front of the card.
Need additional supplies to recreate this card? SHOP ONLINE
Order soon you Designer Series Paper soon, as the sale end October 31st. 2020 . Don’t miss out the DSP you love.


